Tuesday, December 9, 2014

Quick Yarn Scrap Art


Here's a quick version of yarn scrap art. We built our own hearts or other simple shapes to mold yarn scraps dipped in thinned glue. (Maybe you've seen something like this done with cookie cutters. But this has the added fun of making our own foil mold.)

Here's how: Tear off a 12-inch strip of foil. We used the heavy duty foil that is 18 inches wide.


 Fold in half, then in half again. And then in half one more time to make a long strip that's about 1 1/2 inches wide and 18 inches long.

Shape into a simple open shape and then tape the ends. (Or use a small strip of foil to secure the ends by just wrapping around the ends and pressing with your fingers.) Place on a small piece of foil, larger enough to write the artist's name on it with a sharpie.


Dip short scraps of yarn into the diluted white glue. (About 1/2 glue, 1/2 water.) Use your fingers to wipe off extra glue so it's still pretty wet with glue but not swimming in it. Layer them into your shape and let dry. 


Once they are dry, carefully lift off the mold. We left the yarn shape attached to the backing foil and cut out near the edges of the yarn. We liked the way the foil shined in places to add interest to our yarn shapes. Mount using hot glue to colored card stock. Ours are on 6"x6" squares.


We did these as an "extra" on the days we were doing our paper mache, which used the same diluted glue. A roll of foil and a box of yarn scraps were easy to bring with me, and the kids were already in "gluey fingers" mode.


Make it a Wonderful Day!

Sunday, December 7, 2014

Sunday, November 30, 2014

First Snow


Have a wonderful day!

Sunday, November 23, 2014

Wednesday, November 19, 2014

Wooly Woo Our Way

As my Art Club artists finish up their cartoons, I like to have a quick project or two available for quick workers. They might draw another cartoon, create their own character from animal photos, or build a character from an idea sheet of eyes, noses, and other parts. It's really an extra project, so those who work more slowly on their cartoons have time to finish quality work. 

This year, we made Wooly Woos. 


Wooly Woo,designed by Brenda Hoddinott is a drawing exercise in the book Drawing for Dummies. Her version doesn't have arms and legs. Or wiggly eyes.


I created a step-by-step drawing worksheet from Brenda's book. Once they had practiced in pencil- including drawing the eyes and nose with some shading, I gave them a small sheet (5.5"x4.25") of white card stock.


 The hardest part of this was getting them to NOT draw the eyes on their final, since I had them draw eyes during the practice. Yes, it's my fault they were confused! :D


They used sharpie pen for the fur lines, adding arms and legs in whatever pose they wanted. I love this one with his hands up in the air…


 Then they used colored pencil to layer still more furriness on their character.


Adding the wiggly eyes made  a quick character come to life.


Make it  a Wonderful Day!

Sunday, November 16, 2014

Red Carpet


Have a Wonderful Day!

Sunday, November 2, 2014

Thursday, October 30, 2014

Patterned Lego Guy and Big Book Mark


This was a fun end-of-the-year project from Art Club last year. I needed a project that would be easy for a sub to do because I wasn't sure I'd be there for the last couple of weeks. My daughter was having twins, so we didn't know when I might have to head out to help with the new babies.


As it turned out, I was able to finish up my classes before the babies arrived. (Hard to believe they are almost 5 months old already!)

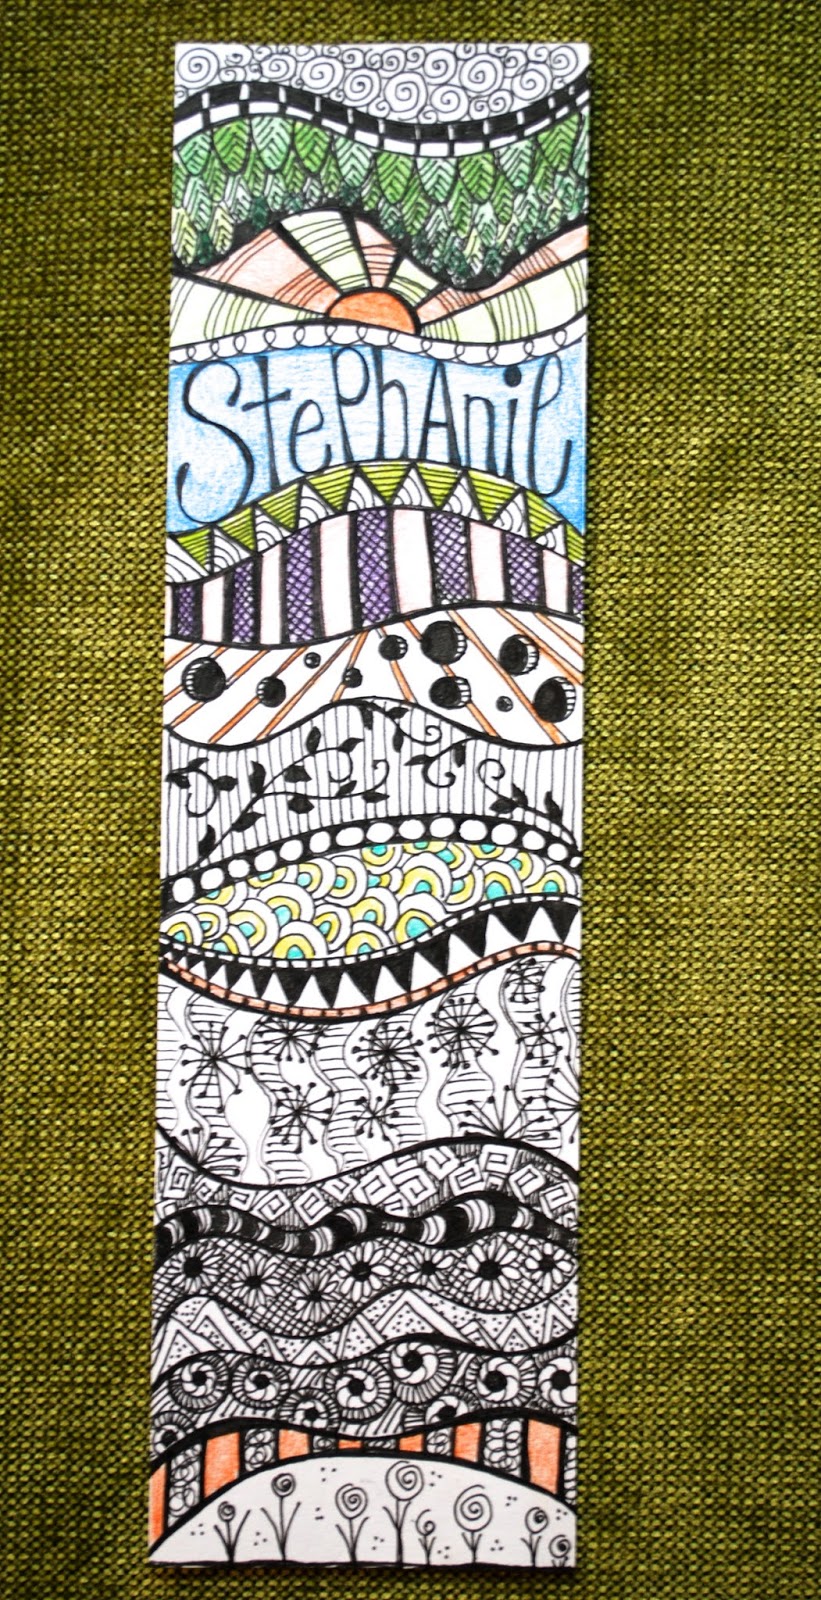
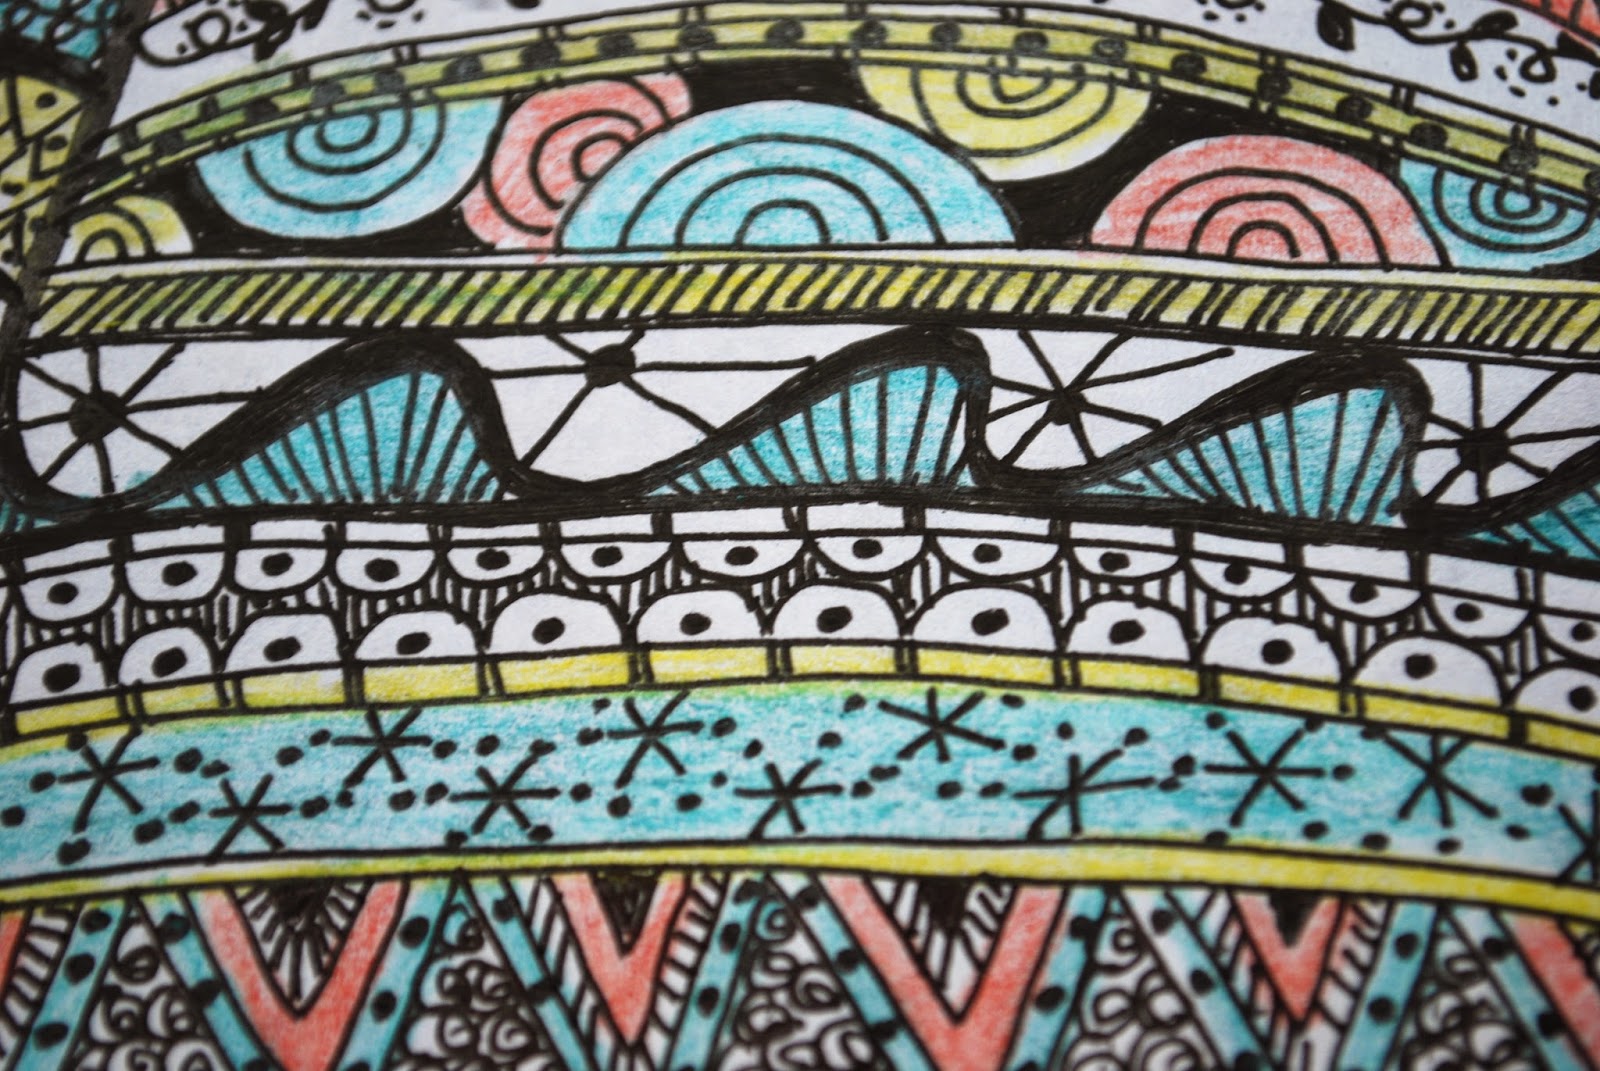
Artists chose either the lego figure or a narrow strip (3x11 inches) for their design. I supplied a sample sheet of about 12 pattern ideas, but they were encouraged to come up with their own. I had the artists draw light curved or straight lines to divide the space and then fill the spaces with patterns.

We used black fine-tipped pens and added some colored pencil. The smaller paper kept the careful pattern work from being too overwhelming to young artists. But many chose the lego figure knowing it would take more time to complete.


Doodling and pattern making are a great way to explore line, and Art Club artists found it relaxing too. So did I! (I found the Lego guy here.)

Tuesday, October 28, 2014

Paper Cut Art- A Fabulous Find!


I found this the other day at my local thrift store. (Value Village). I think it's a great addition to my Halloween decor.


The paper cut artwork is signed- I think it's "Blecko". Or "Bleeke". But I couldn't find anything about him or her when I searched those names. 


Adding a spider and some web, along with some Halloween lighting, gave it just the right amount of creepiness. 


And there was nothing creepy about the price- original, signed art for under $5. I'd love to know something about the piece. It's one of the things I like about thrift store shopping- a little history, a little mystery. Who made it? Who owned it? And why did they decide to give it away? 


Wednesday, October 15, 2014

My interview with Midlife Guru

Just in case you missed it, I was interviewed over on Midlife Guru. Check it out!


A few of my Halloween friends found the interview fascinating. (Or maybe a bit scary?)
See what you think. 


Make it wonderful day!

Sunday, October 12, 2014