Finally! I've been trying to do a video tutorial on how to weave on a CD, but I've had technical problems. So photos will just have to do!
Thank you to everyone who has expressed interest in my weaving idea, and I'm so happy to hear some of you have already made these with your kids or students. Let me know if you have any questions, and I'll really try to get back to you!
Here's what you'll need:
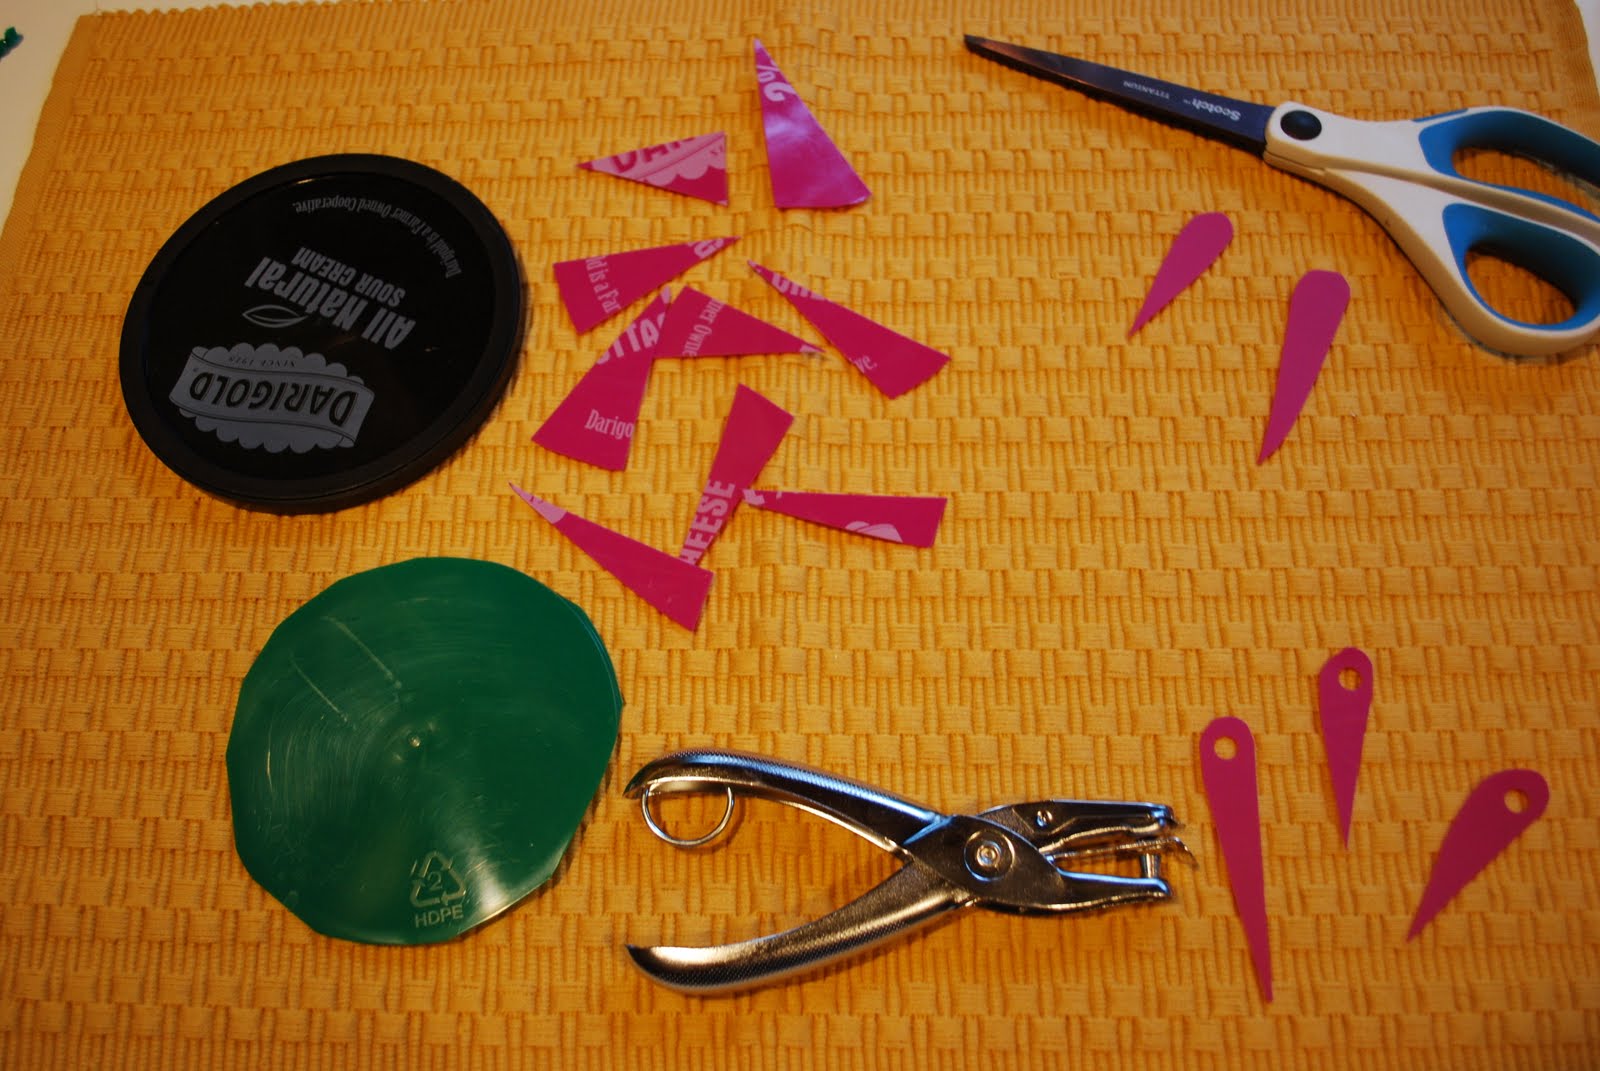
(Old CDs, scrap yarn, scissors, and if you want to make the flexible needles, plastic lids, and a hole punch.)
To make the needles, cut the rim off the lid. Cut the remaining flat circle of plastic into pie shaped pieces, then round the top edge. Punch a hole in the rounded end to make the eye of the needle. Trim if needed.
(You can use regular yarn needles, but I really like the flexible needle better- it's easy for the kids to thread, and I could have lots of them available at no cost. Some weavers preferred to not use a needle at all.) Update: I rounded the pointed end so it would be less likely to split the yarn.
For this tutorial I've covered the CD with paper. (Just to avoid the reflection problem in the photos.)

 To Warp the CD:
 A smooth yarn works best, and I used a thicker yarn for younger weavers. The warp yarn is between 4 and 6 feet long. Tie it to the CD by putting one end through the center hole and knotting it to itself on the back. Turn the CD over to the front, pulling the thread through the center and wrapping around the CD, creating the spokes.
update: Make sure the warp threads are pretty tight!)
(You can prepare the CD looms in advance if you like. I had most of my classes make their own, but it does cut into weaving time. I had to teach many of them how to tie a knot. But
I did love having the kids know how to do the project from start to finish, and then many of them were able to make lots more of these at home!)

It's
IMPORTANT to have the warp threads be an
UNEVEN number. It's easy to check this by pushing the spokes together in pairs, making sure your last one is a
SINGLE...

The total number of warp threads can vary, as long as it's an uneven number. The fewer spokes, the faster it is to weave, but the looser the weaving will be, especially out near the edge.
(I think it works well to have 13 or 15 for the younger kids, but some of my older students used a finer yarn or string and had as many as 25 or 27 warp threads. )
To keep the warp threads an uneven number without counting: As you put the threads on, keep them in pairs. Then add one more as a single. Knot the last thread on the back of the CD by tying it to the first thread. Then spread out the warp threads evenly on the front.
Now you're ready to weave!

Choose your first yarn. It will be the center of your weaving. Attach it on the
back of the CD by tying it to one of the warp spokes.

Knot the other end to the needle. Push the needle up through the center hole to the front side. Weave over under, over under. When you get near the end of your yarn, attach another yarn. I taught the kids how to tie a square knot.
(I spent a lot of time helping kids get the knot tying thing figured out!!)
I hold the CD in my hand as I weave, weaving in a counter clock-wise direction. (I'm right-handed...) I push the needle under a warp spoke and then off the edge, repeating over/under for a few spokes before before pulling the yarn all the way through and then down and tight.

When you add a new yarn, leave the tail long enough to tuck in after you've done a few more stitches so you can see where the knot needs to tuck in. If the tails are too short, they are harder to tuck in.

You can use a variety of yarns, including textured and fluffy yarns. But they are more challenging to work with. I encouraged younger weaver to use smoother yarns, at least until the got the hang of it. When you get to the last round, end by tying the yarn to one of the warp spokes and tucking in the end.
I loved having a huge variety for them to choose from! I purchased many of the yarns from a thrift store
(Value Village).


So there you have it- I hope that helps! Thanks to all of you who have expressed interest, and I would LOVE to see the work of your talented weavers!
Make it a Wonderful Day!