Showing posts with label kid's art. Show all posts

Friday, May 8, 2015

Art Teacher Still Life (Clean Up Beauty)


 I guess I see beauty in most things. Even clean up. We spend time at the end of Art Club with everyone helping clean up, but I do a second round at home with brushes and supplies that might be wrecked if not cleaned completely. (Let's just say a first-grader's idea of clean might not be the same as mine…)


These are some thrifted cookie cutters (Value Village) we used to add a printed layer to this year's freestyle painting we did on cardboard. (Here are some older examples. We use up the paint on our pallets after painting our annual paper mache- so much fun to paint just for the joy of painting!)


Yes, I lined up the paint-stained sponge bits on the stripes of the towel to dry. Like houses on little lots and parallel roads.


 I cut open the tube acrylics to scrape out every last bit of paint. I put warm colors in one squeeze bottle, cool in another, Black and white together because the white on a kid's pallet always has some color mixed in. We'll use the mixed paints on future projects where the marbling of colors is a plus.


 I don't save the dried bits from the lids, but I couldn't just throw them away without a photo.  Or two.


I remind my students all the time to see like an artist. Look for line, shape, space, texture, color, form, and value. Pattern and repetition. Light and shadow and contrast and all that. The world (even clean up!) is full of visual treasures we don't want to miss.


Make it a Wonderful Day!

Tuesday, April 14, 2015

Oil Pastel Vases, Bowls, and Bottles


We're nearing the end of Art Club for the year, and I'm way behind on posting their beautiful work. 


 We did a guided practice drawing together, starting with drawing a cylinder and then shaping it into an imagined vase, bottle, or bowl.  Vibrant oil pastels were blended with a brush and turpenoid to create a painterly result on our final paper.


(This artist really got into the blending…) :D


I alternated black and white for the thin matting, which added a bit of interest to the  display.


This project was a good example of starting with a clear framework that included some skill-building. But there was also room for lots of individual artistic decisions. (How will I shape my vase? Where is the imaginary light source? Warm or cool colors for the vase? Should I add details like stripes in the background?) Our young artists were very happy with the results, and so was I.


Make it a Wonderful Day!


Tuesday, January 20, 2015

Peacock Feathers and Paisleys


Hi again! Yes, I've been busy.  A son's wedding in New York. An open house here to celebrate with West Coast friends. Christmas travel to spend time with ALL our kids and grands. So not much time at the computer. I'm going to try and catch up with a few Art Club projects. 


I try to dove tail projects that use up leftovers from the previous project so we have less waste. This also allows for early finishers to move on to the next project without me bringing entirely different supplies. (I have to haul everything to each school every week, so I have to think about that!) In this case, we finished up collaged glass plates like these with either silver or gold paint on the backs. So with extra acrylic paint still on our pallets, we moved on to a mixed media piece.


Artists could chose to paint paisleys, peacock feathers, or a single letter. I demonstrated how-to-draws for each. (And I shared a real peacock feather fan from India that a former student had given me. So beautiful!)


The following week, with the paint dry, we added color with oil pastels. (And then we began another project with oil pastels too. More on that in another post.)


 I only got photos at one of my schools. These are mounted on white paper. Another school got red mats- very striking. (You'll just have to take my word for it..)


The kids got to practice using very small brushes, making sure to make the paint smooth and creamy before loading the brush. And I love how great the colors look on the heavy black paper. (An up cycle of some business folders…love being able to use something that was headed for the trash!)


These were fairly small, I think about 5x7. Smaller scale meant a quicker project.


Hard to see in the photos, but the shimmer of the metallic paint really added interest.


Make it a Wonderful Day!

Tuesday, December 9, 2014

Quick Yarn Scrap Art


Here's a quick version of yarn scrap art. We built our own hearts or other simple shapes to mold yarn scraps dipped in thinned glue. (Maybe you've seen something like this done with cookie cutters. But this has the added fun of making our own foil mold.)

Here's how: Tear off a 12-inch strip of foil. We used the heavy duty foil that is 18 inches wide.


 Fold in half, then in half again. And then in half one more time to make a long strip that's about 1 1/2 inches wide and 18 inches long.

Shape into a simple open shape and then tape the ends. (Or use a small strip of foil to secure the ends by just wrapping around the ends and pressing with your fingers.) Place on a small piece of foil, larger enough to write the artist's name on it with a sharpie.


Dip short scraps of yarn into the diluted white glue. (About 1/2 glue, 1/2 water.) Use your fingers to wipe off extra glue so it's still pretty wet with glue but not swimming in it. Layer them into your shape and let dry. 


Once they are dry, carefully lift off the mold. We left the yarn shape attached to the backing foil and cut out near the edges of the yarn. We liked the way the foil shined in places to add interest to our yarn shapes. Mount using hot glue to colored card stock. Ours are on 6"x6" squares.


We did these as an "extra" on the days we were doing our paper mache, which used the same diluted glue. A roll of foil and a box of yarn scraps were easy to bring with me, and the kids were already in "gluey fingers" mode.


Make it a Wonderful Day!

Wednesday, November 19, 2014

Wooly Woo Our Way

As my Art Club artists finish up their cartoons, I like to have a quick project or two available for quick workers. They might draw another cartoon, create their own character from animal photos, or build a character from an idea sheet of eyes, noses, and other parts. It's really an extra project, so those who work more slowly on their cartoons have time to finish quality work. 

This year, we made Wooly Woos. 


Wooly Woo,designed by Brenda Hoddinott is a drawing exercise in the book Drawing for Dummies. Her version doesn't have arms and legs. Or wiggly eyes.


I created a step-by-step drawing worksheet from Brenda's book. Once they had practiced in pencil- including drawing the eyes and nose with some shading, I gave them a small sheet (5.5"x4.25") of white card stock.


 The hardest part of this was getting them to NOT draw the eyes on their final, since I had them draw eyes during the practice. Yes, it's my fault they were confused! :D


They used sharpie pen for the fur lines, adding arms and legs in whatever pose they wanted. I love this one with his hands up in the air…


 Then they used colored pencil to layer still more furriness on their character.


Adding the wiggly eyes made  a quick character come to life.


Make it  a Wonderful Day!

Thursday, October 30, 2014

Patterned Lego Guy and Big Book Mark


This was a fun end-of-the-year project from Art Club last year. I needed a project that would be easy for a sub to do because I wasn't sure I'd be there for the last couple of weeks. My daughter was having twins, so we didn't know when I might have to head out to help with the new babies.


As it turned out, I was able to finish up my classes before the babies arrived. (Hard to believe they are almost 5 months old already!)

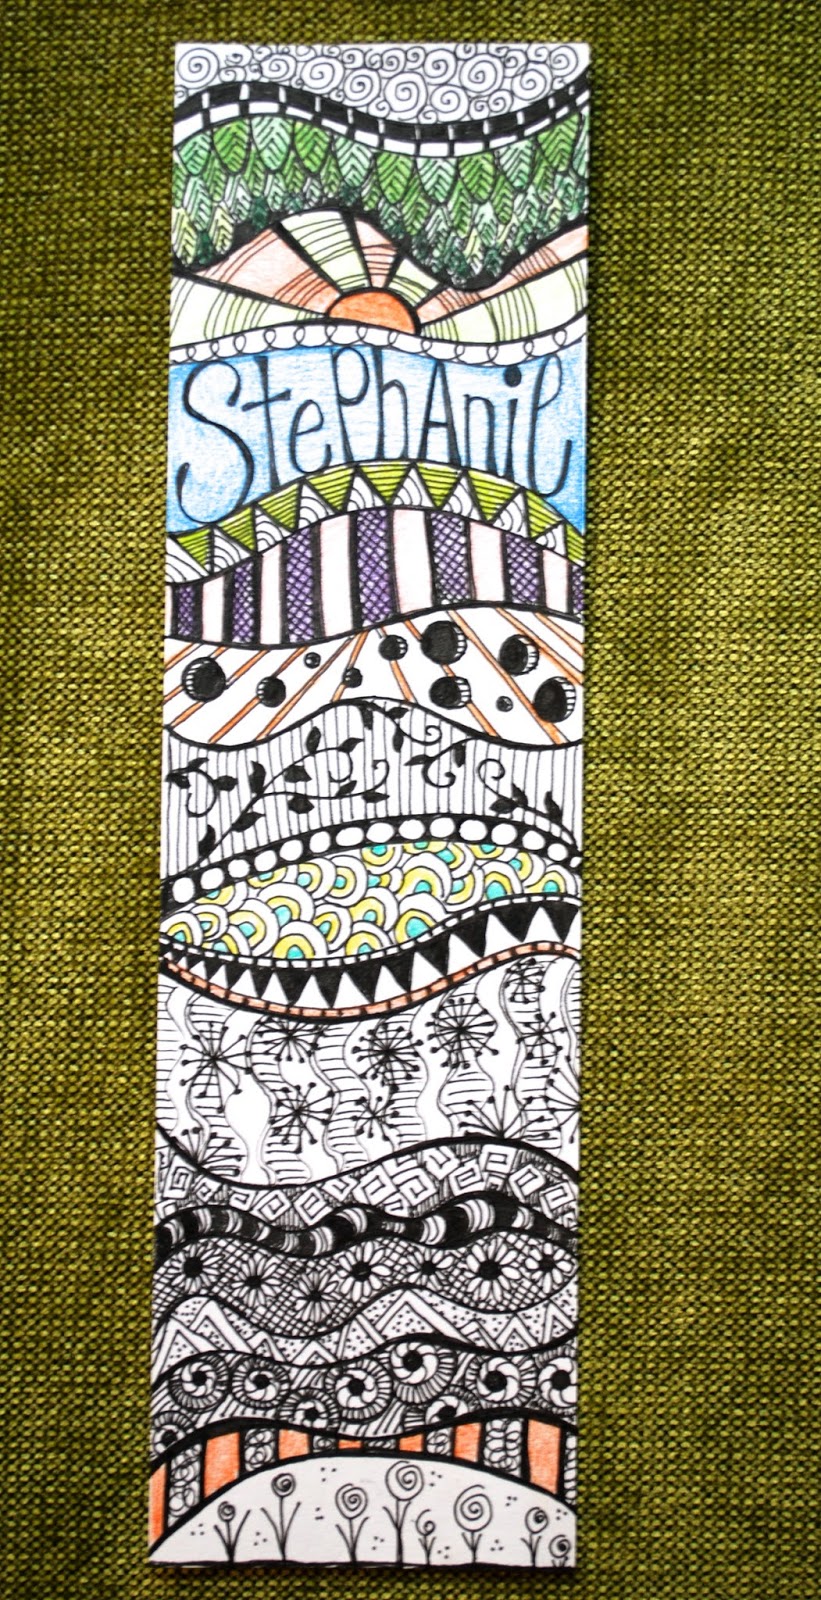
Artists chose either the lego figure or a narrow strip (3x11 inches) for their design. I supplied a sample sheet of about 12 pattern ideas, but they were encouraged to come up with their own. I had the artists draw light curved or straight lines to divide the space and then fill the spaces with patterns.

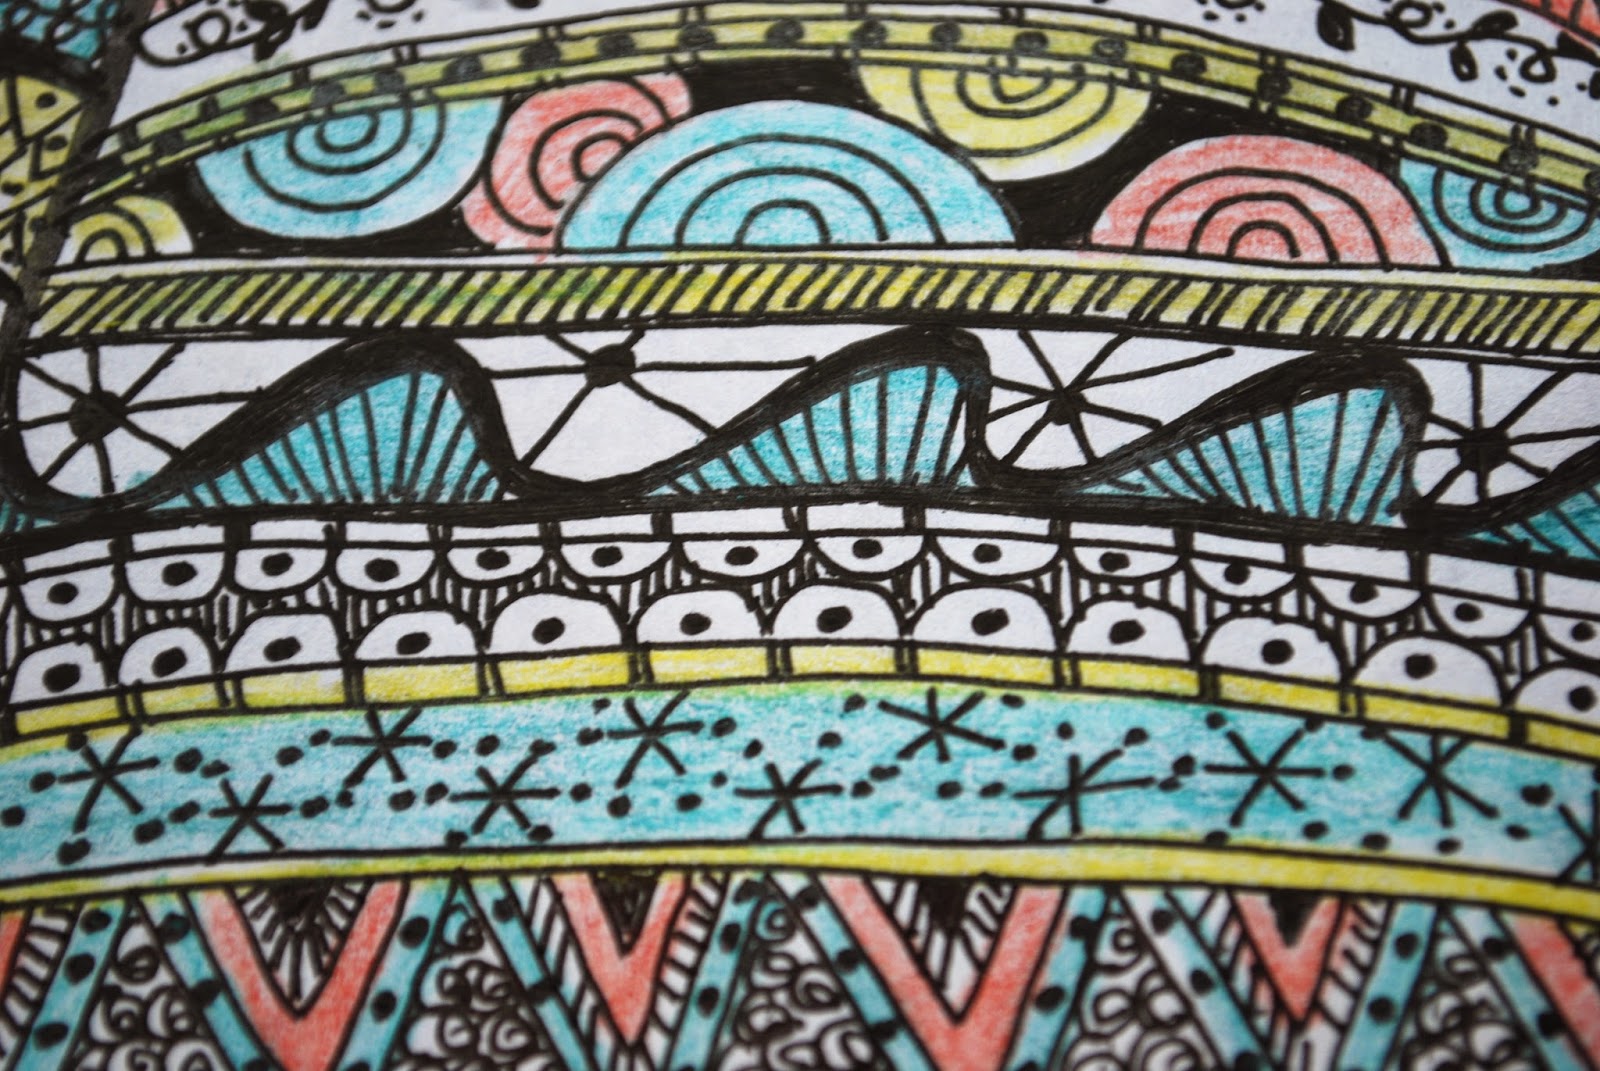
We used black fine-tipped pens and added some colored pencil. The smaller paper kept the careful pattern work from being too overwhelming to young artists. But many chose the lego figure knowing it would take more time to complete.


Doodling and pattern making are a great way to explore line, and Art Club artists found it relaxing too. So did I! (I found the Lego guy here.)