Sunday, September 23, 2012

Black Sand and Blue Sky


Have a Wonderful Day!

Wednesday, September 19, 2012

Chicken Scratch Pillows

I love having my grands come to visit. The only thing better would be having them live up the street so they could come over to play more often. I know, I know. It's not gonna happen. A grandma can dream, right?


We've embroidered before, but this time we tried a little chicken scratch on pink gingham. Their initials were a good intro to this simple cross stitch. We drew a pattern on graph paper first, and then used pencil to draw it on the fabric. 


Macey decided to add some extra stitches to hers just for fun....


... And all the girls were pretty proud of their work!


Make it a Wonderful Day!

Sunday, September 16, 2012

Water Flowers


Have a Wonderful Day!

Sunday, September 9, 2012

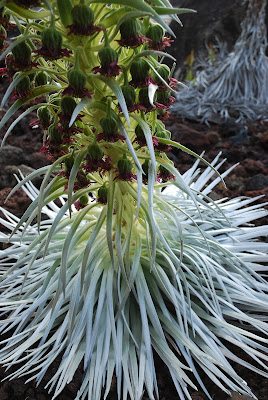
Silver Sword


Have a Wonderful Day!

Wednesday, September 5, 2012

Grandgirls and Paper Beads


Our grands came to visit for a couple of weeks this summer, and we had fun! Here's one of the things we made- paper bead necklaces. 


 The girls had a great time choosing pages from old magazines and then cutting, rolling and gluing them. They liked the surprise of seeing how the printed paper changed as it was rolled up. How much color will show? What will it look like if I roll up a paper that's just type? How many more can I make??

We sealed the beads with glossy mod podge,and then strung them onto necklace blanks, mixing in a few other beads from my bead box.  
Love them! (My grandgirls, and the their necklaces too....)


Make it a Wonderful Day!

Sunday, September 2, 2012

Farmer's Market Flowers


Have a Wonderful Day!

Monday, August 27, 2012

Zig. Zag. Done!

Another finish. Another Quilt-Along project from Old Red Barn Co.  

I pieced the top in no time. And then it just sat in my closet. I'd pull it out and refold it every so often. Now that it's done, it's been put to good use on a regular basis.


The fabric for this was pulled from my stash and is a real mixture that includes some well known designers like Kaffe, Amy Butler, and others not so well known. But I have rules about stash building. I only buy fabric when it's on sale. However, this has not stopped me from having a ridiculous amount of fabric on hand.

The zigs and zags are 3 1/2-inch Half -Square Triangles. I added a thin 1/2- inch striped border. The outside border of 4-inch squares used up the leftovers. The backing is Dottie, by Moda-it's 108 inches wide, which meant no piecing of the back. (The finished quilt measures 54x67.)

My friend Terry did the beautiful long arm quilting.  


Make it a Wonderful Day!

Sunday, August 26, 2012

Flowers on the Border


Have a Wonderful Day!

Friday, August 24, 2012

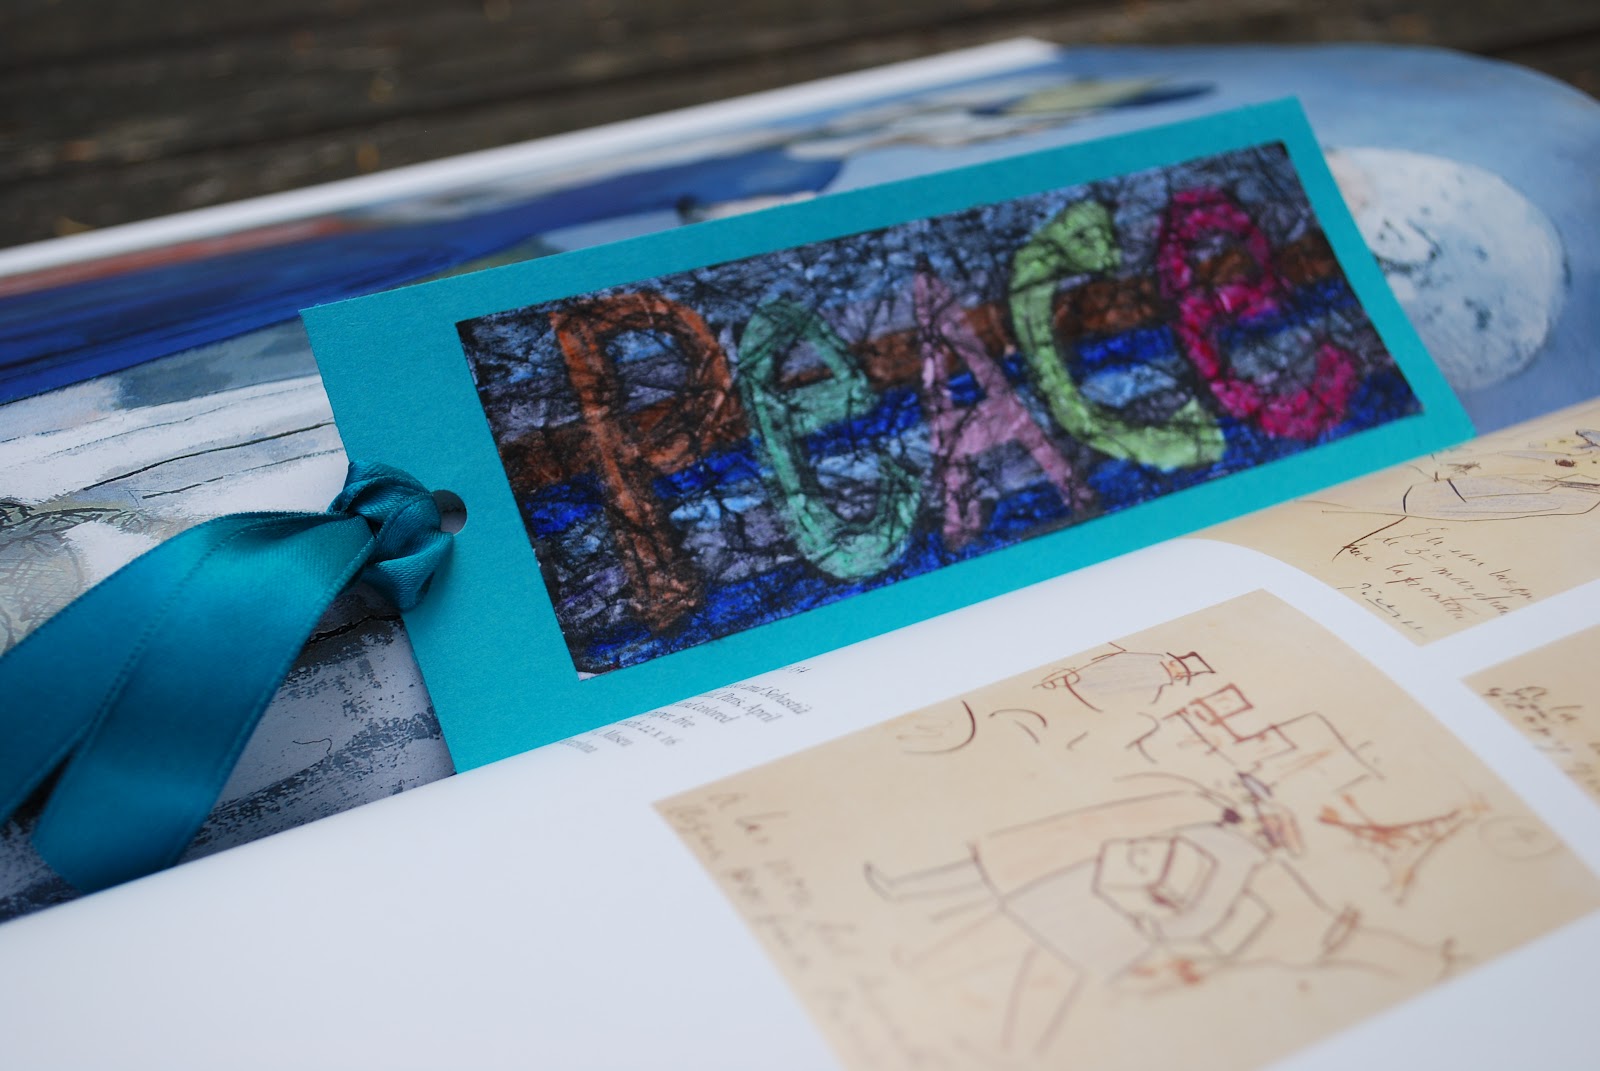
Crayon-Shoe Polish "Batik" Tutorial

I've had some requests for a Crayon Batik step-by-step. (This is an idea that's been around a while-I think I remember doing this in 70s!)


You'll need: white copier paper, crayons, shoe polish, and paper towels or a soft cloth.
If you want to mount your artwork, you'll also need cardstock or other colored paper and a glue stick.


Your paper can be left 8 1/2 by 11. But depending on how much time you have, working smaller is a good way to speed things up! The samples above are 6x6 so they were faster to make and easy to mount on already cut 8x8 card stock. For the bookmarks, I cut the paper into 5.5 inch x 2 inch strips. (Or complete a full-sized piece, and then cut it up to make several bookmarks from one artwork.)


Color your design with crayons. Using lighter colors works best. Press hard so the paper is completely covered.


 Now crumple your paper. (Some kids have a hard time wadding up the art that they just worked so hard to color! Others love the idea.). Crumple and smooth, crumple and smooth out two or three times, taking care not to rip the paper. Too crumpled may mean more "batik" effect than you want. Oh, and see in the photo how the paper on the left has a fold all the way across? Try to avoid that unless you want a black line there, as you will see in my later photos..
.
 Rub over your artwork with the liquid shoe polish.


 Cover completely and wipe off quickly with a paper towel or soft cloth.

You can use paint, but this works better and easier. And a bottle of shoe polish goes a long way. (Most of my students have no idea what shoe polish is actually used for!)

 Once it's dry, I like to buff it a bit with the cloth or paper towel. It's hard to see in the photo, but it gives a bit of sheen to the paper.


If you're making bookmarks, mount on 2 1/2-inch by 6 1/2-inch card stock. Laminate if you'd like.


 Use a hole punch at the top and add a yarn or ribbon tassel.


I've used this technique lots of times- it's great in between more involved, longer projects. I've done abstracts, monograms, hearts, concentric shapes, and even stained glass themed pieces with my students. (For a stained glass look, use a gray or silver crayon to make 1/4-inch outlines around colored shapes. Only crumple very lightly before shoe polishing.)

This is an abstract in bright colors...Before...

 ...And after:


 I usually control the shoe polishing-once they have colored and crumpled, they bring their artwork to the polish table. They apply the polish using the sponge-topped bottle. I wear rubber gloves and then rub off the polish while they watch. They love the magic transformation that occurs.

 Once dry, smooth out the paper a bit by pressing under a heavy book before you mount it on card stock.

 The one below wasn't flattened, so it's more textured.


Let me know if you have any questions! I'd love to see your artwork if you try this out.


Make it a Wonderful Day!

Tuesday, July 31, 2012

Gingham for Ivie

 I'm a new Great-Aunt! My great niece's name is Ivie, and I made her a quilt. Machine pieced, hand quilted.


 The 2 1/2-inch strips are raspberry, lemon yellow, and apple green gingham, kona white, and a fruit-and-flowers print. The thin border is a pink-on-pink print.  


And there's a different pink-on-pink for the backing.  I hand quilted with perl cotton and bound it with more of the green gingham.
I'd tell you the size, but I forgot to measure it and now it's in the mail. I hope Ivie likes her quilt!


Make it a wonderful day!