
You'll need: white copier paper, crayons, shoe polish, and paper towels or a soft cloth.
If you want to mount your artwork, you'll also need cardstock or other colored paper and a glue stick.

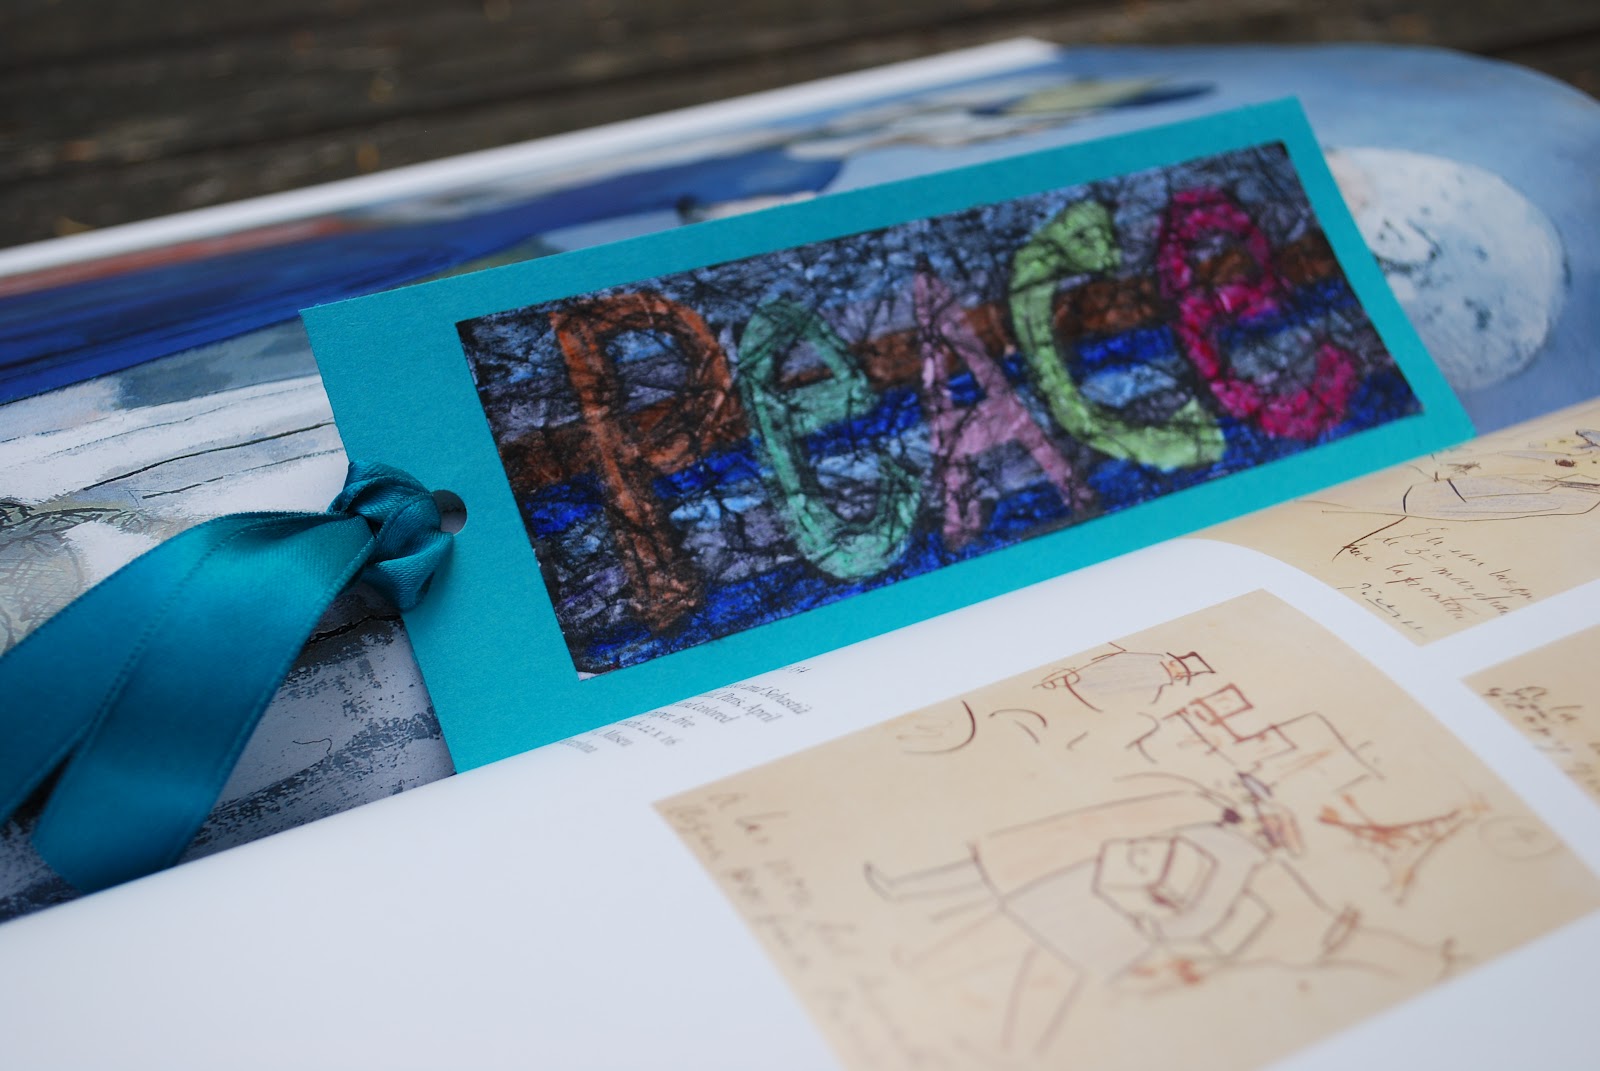
Your paper can be left 8 1/2 by 11. But depending on how much time you have, working smaller is a good way to speed things up! The samples above are 6x6 so they were faster to make and easy to mount on already cut 8x8 card stock. For the bookmarks, I cut the paper into 5.5 inch x 2 inch strips. (Or complete a full-sized piece, and then cut it up to make several bookmarks from one artwork.)

Color your design with crayons. Using lighter colors works best. Press hard so the paper is completely covered.

Now crumple your paper. (Some kids have a hard time wadding up the art that they just worked so hard to color! Others love the idea.). Crumple and smooth, crumple and smooth out two or three times, taking care not to rip the paper. Too crumpled may mean more "batik" effect than you want. Oh, and see in the photo how the paper on the left has a fold all the way across? Try to avoid that unless you want a black line there, as you will see in my later photos..
.


Cover completely and wipe off quickly with a paper towel or soft cloth.


If you're making bookmarks, mount on 2 1/2-inch by 6 1/2-inch card stock. Laminate if you'd like.

Use a hole punch at the top and add a yarn or ribbon tassel.
I've used this technique lots of times- it's great in between more involved, longer projects. I've done abstracts, monograms, hearts, concentric shapes, and even stained glass themed pieces with my students. (For a stained glass look, use a gray or silver crayon to make 1/4-inch outlines around colored shapes. Only crumple very lightly before shoe polishing.)
This is an abstract in bright colors...Before...


Let me know if you have any questions! I'd love to see your artwork if you try this out.
Make it a Wonderful Day!
That's so clever...I love the effect!
ReplyDeleteWonderful !
ReplyDeleteLove this idea for my own art journal pages!
ReplyDeleteBrilliant THANK YOU :0)
ReplyDeleteThese are so beautiful! I'm going to try this with my grade one class. Thank you.
ReplyDeleteBarbara
Grade ONEderful
Ruby Slippers
Wow. This is a really nice idea. Thanks for sharing
ReplyDeleteThank you. My 2nd graders will love this. We will try it next week!
ReplyDeleteThank You for thid wonderful idea and how-to-do pictures!
ReplyDeleteWonderful!
ReplyDeleteThis looks so cool! I'm going to do this craft with my daughter's class today. Wish me luck!
ReplyDeleteThis comment has been removed by a blog administrator.
ReplyDeleteThis comment has been removed by a blog administrator.
ReplyDeleteThis comment has been removed by a blog administrator.
ReplyDeleteDo you have to use crayon, or can you use colour pencils?
ReplyDeleteI've never tried it with pencils. One of the challenges might be making sure the whole surface is completely covered by the pencil-not coloring hard enough allows too much of the shoe polish to remain. Also, the crayon cracks off a bit when you crumple the paper, which leads to the "batik" effect. I don't know if colored pencil would do that...so let me know if you try it! :D
DeleteIf I used water color instead of shoe polish, would tha work? I'd like to do this with a large group of kids and have them doing the step after crumpling would be better time wise.
ReplyDeleteHI, Love this idea, Do you think it would work with oil pastels?
ReplyDeleteI've never tried oil pastels with this, but it seems like it would work. (Let me know if you try it!!) :D
DeleteWhat kind of shoe polish and how is it applied- do you just put a thin film on-how much do you use for 20 students? Can the students do this on their own while you supervise and what do you apply polish with>
ReplyDeleteI love it and will try for sure? Any great ideas for texture and other elements?
Hi! I use Kiwi brand- liquid with a sponge top applicator. Yes, it's just a quick, thin coat. I think one bottle would be enough for 20 kids, depending on the size of each artwork. The crumpling creates the texture, so I'm not sure what else you would do. :D
Deletecould this be done on material?
DeleteHi. I'm not sure of your question- are you asking about coloring on fabric and then using the shoe polish on it? I think coloring with crayons on fabric would be challenging. Maybe you'd rather do something more like a true batik with melted wax. :D
Delete