
Have a Wonderful Day!


 And on a different note, I've had trouble leaving comments on some blogs...so today I researched it a bit...unchecking the "stay signed in" box seems to have fixed the problem! Have any of you had the same random problem? It was very frustrating to write a comment, only to be redirected back to signing in- an endless loop and no comment posted!
  Yep. FORTY-SIX Bundles of Love to be exact. Fabric, yarn, and a few other sewing supplies all bundled up, heading to Afghanistan tomorrow. The boxes are now all loaded in the car, ready to drop off at the Post Office.
Thank you to everyone who cleaned out their cupboards one more time to share our abundance.
Do you want to help out? Go check out http://ibol.wordpress.com/ . You don't have to send forty-six. But I'll bet you and a friend could put together one! :D
Make it a wonderful day!


 Make it a Wonderful Day!
 I attached the disks to each other in columns with twist ties. The top disk has a twist tie loop so the column can be push pinned to the wall.
 The sign for one of my schools is made from a cake cardboard I happened to have on hand...


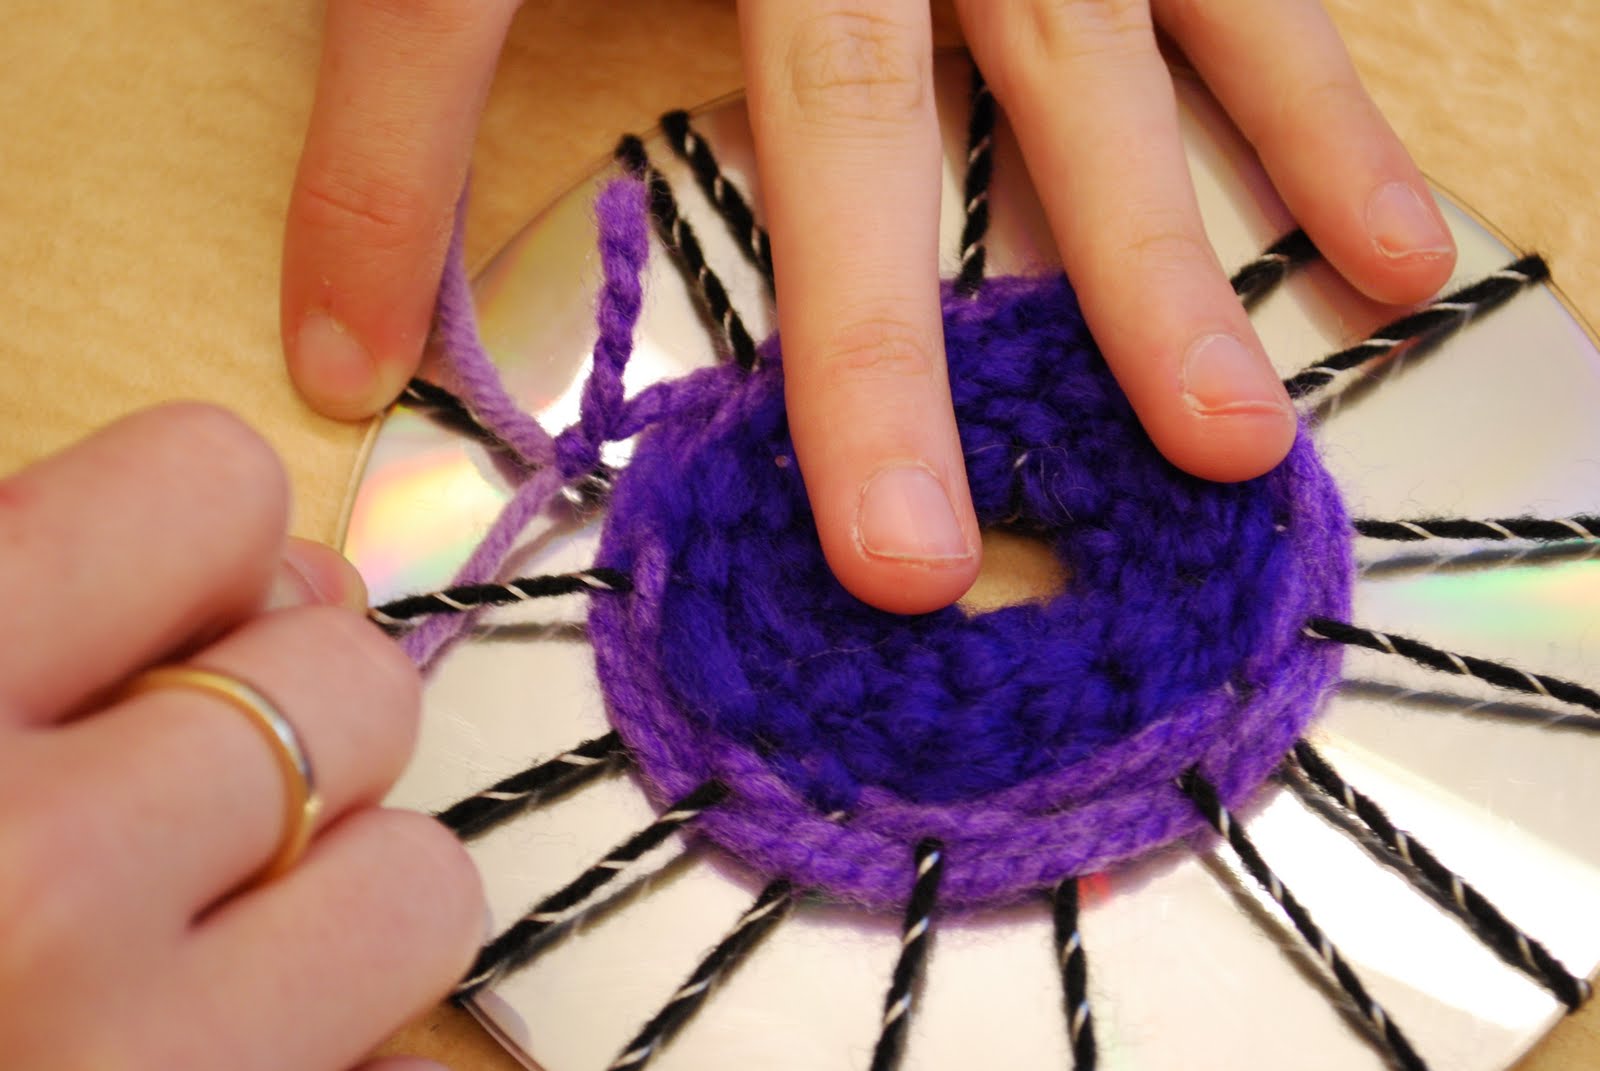
 I've been weaving on CDs. I wanted to come up with a weaving project for my Art Club classes that we could do in a shorter time than when we've built looms.
 Weaving with beads and wire was awesome...but after making this one, I decided it wasn't going to work with my Art Club kids. Wire can be a bit difficult for kids to manage.
  But yarn was wonderful! I have a bin of yarn, most of it thrifted (Value Village), so we had the variety that made this so fun.
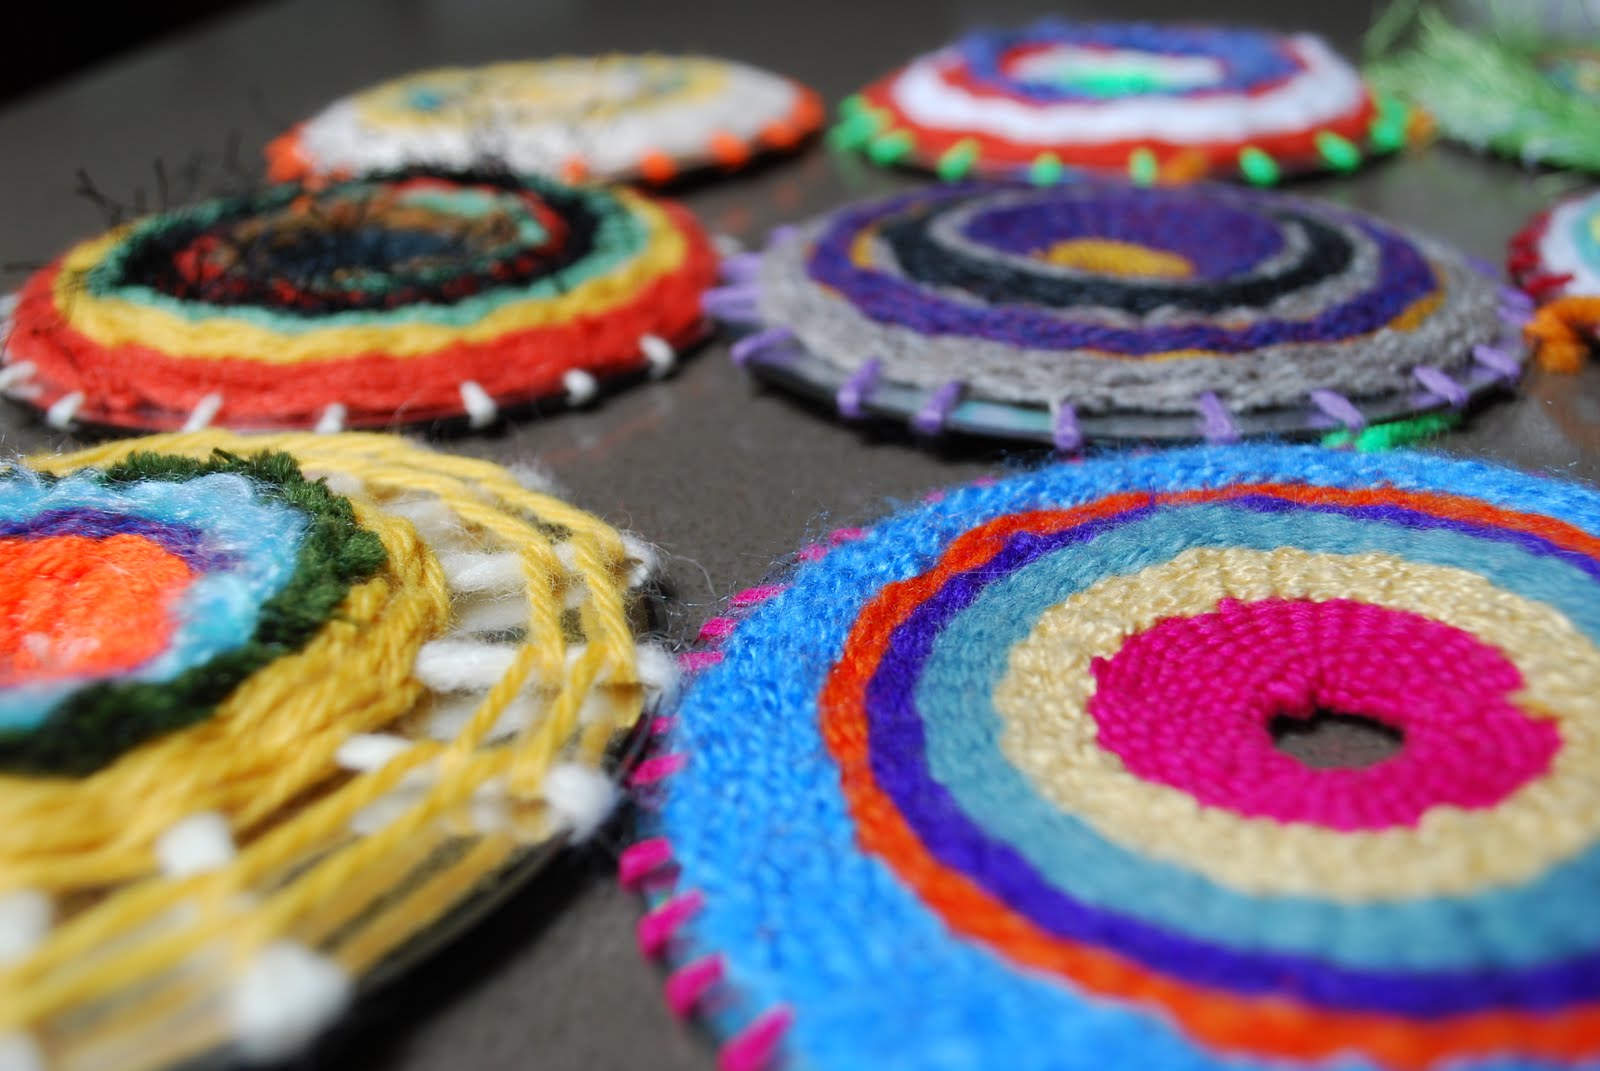 The CDs are ones I'd collected from kids a couple of years ago. When I asked for old CDs for a collage project, the kids brought in STACKS of them! So this was a good project using supplies I already had on hand.


