I've had some requests for a Crayon Batik step-by-step. (This is an idea that's been around a while-I think I remember doing this in 70s!)
You'll need: white copier paper, crayons, shoe polish, and paper towels or a soft cloth.
If you want to mount your artwork, you'll also need cardstock or other colored paper and a glue stick.
Your paper can be left 8 1/2 by 11. But depending on how much time you have, working smaller is a good way to speed things up! The samples above are 6x6 so they were faster to make and easy to mount on already cut 8x8 card stock. For the bookmarks, I cut the paper into 5.5 inch x 2 inch strips. (Or complete a full-sized piece, and then cut it up to make several bookmarks from one artwork.)
Color your design with crayons. Using lighter colors works best. Press hard so the paper is completely covered.
Now crumple your paper. (Some kids have a hard time wadding up the art that they just worked so hard to color! Others love the idea.). Crumple and smooth, crumple and smooth out two or three times, taking care not to rip the paper. Too crumpled may mean more "batik" effect than you want. Oh, and see in the photo how the paper on the left has a fold all the way across? Try to avoid that unless you want a black line there, as you will see in my later photos..
.
Rub over your artwork with the liquid shoe polish.
Cover completely and wipe off quickly with a paper towel or soft cloth.
You can use paint, but this works better and easier. And a bottle of
shoe polish goes a long way. (Most of my students have no idea what shoe
polish is actually used for!)
Once it's dry, I like to buff it a bit with the cloth or paper towel. It's hard to see in the photo, but it gives a bit of sheen to the paper.
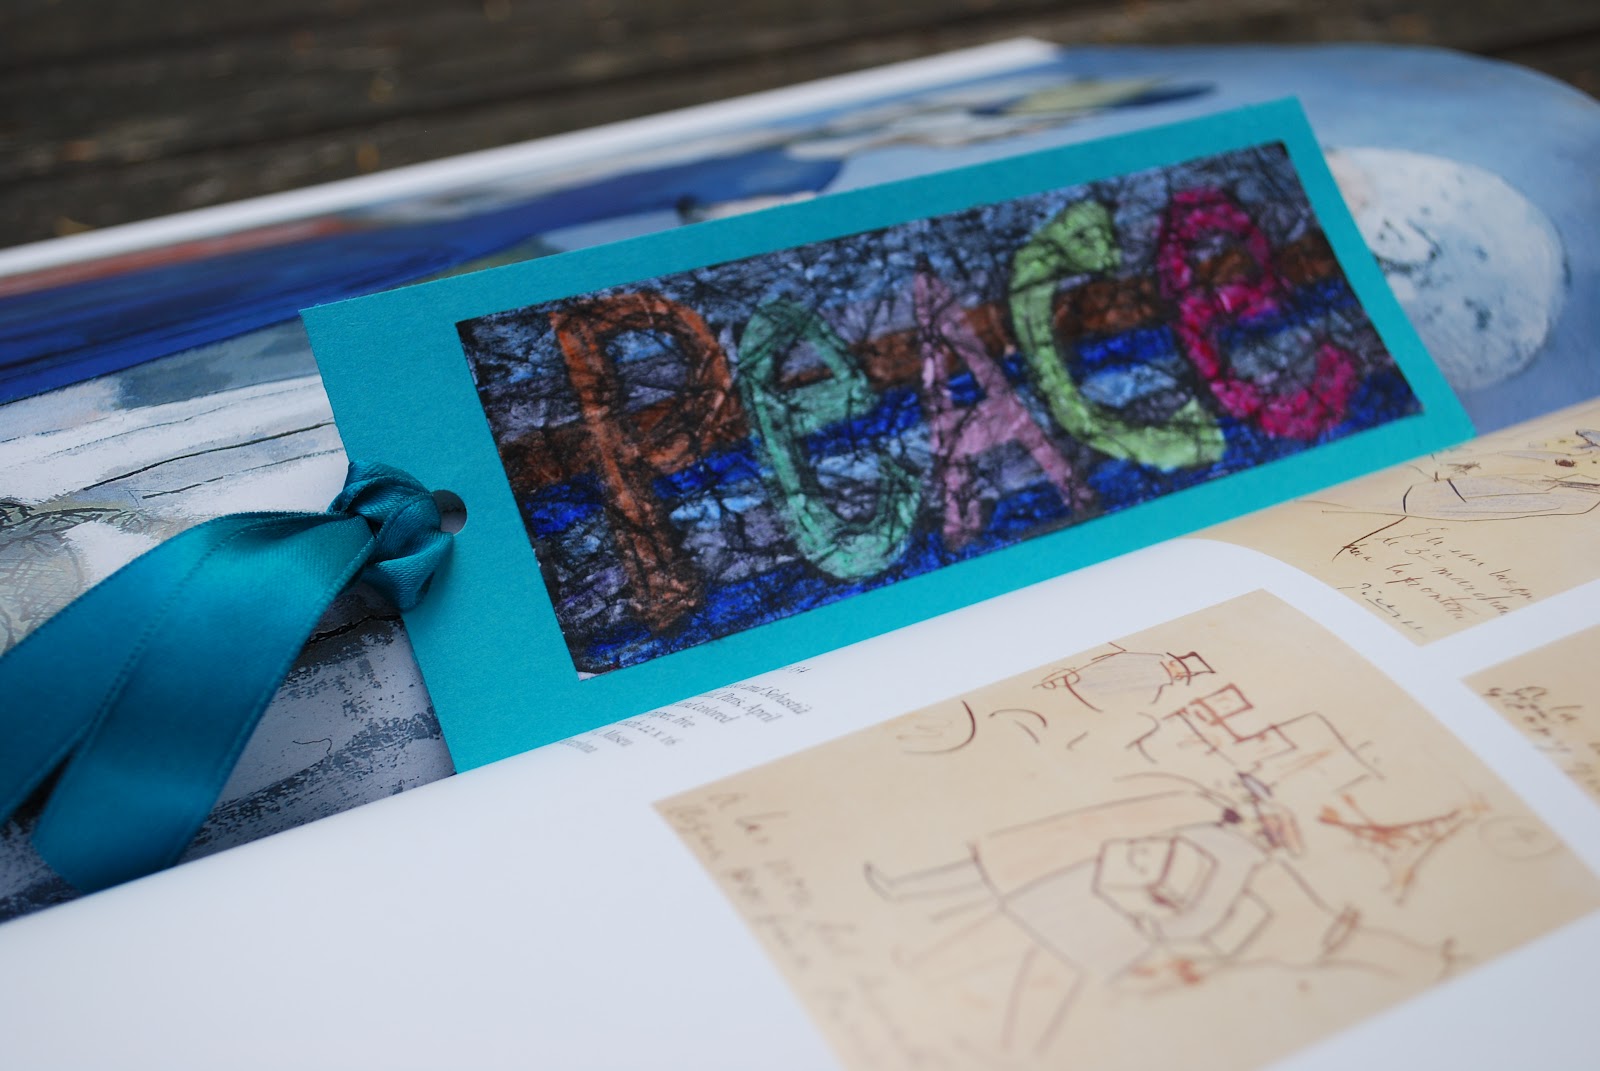
If you're making bookmarks, mount on 2 1/2-inch by 6 1/2-inch card stock. Laminate if you'd like.
Use a hole punch at the top and add a yarn or ribbon tassel.
I've used this technique lots of times- it's great in between more involved, longer projects. I've done abstracts, monograms, hearts, concentric shapes, and even stained glass themed pieces with my students. (For a stained glass look, use a gray or silver crayon to make 1/4-inch outlines around colored shapes. Only crumple very lightly before shoe polishing.)
This is an abstract in bright colors...Before...
...And after:
I usually control the shoe polishing-once they have colored and crumpled, they bring their artwork to the polish table. They apply the polish using the sponge-topped bottle. I wear rubber gloves and then rub off the polish while they watch. They love the magic transformation that occurs.
Once dry, smooth out the paper a bit by pressing under a heavy book before you mount it on card stock.
The one below wasn't flattened, so it's more textured.
Let me know if you have any questions! I'd love to see your artwork if you try this out.
Make it a Wonderful Day!