This was a great project from a few months back.

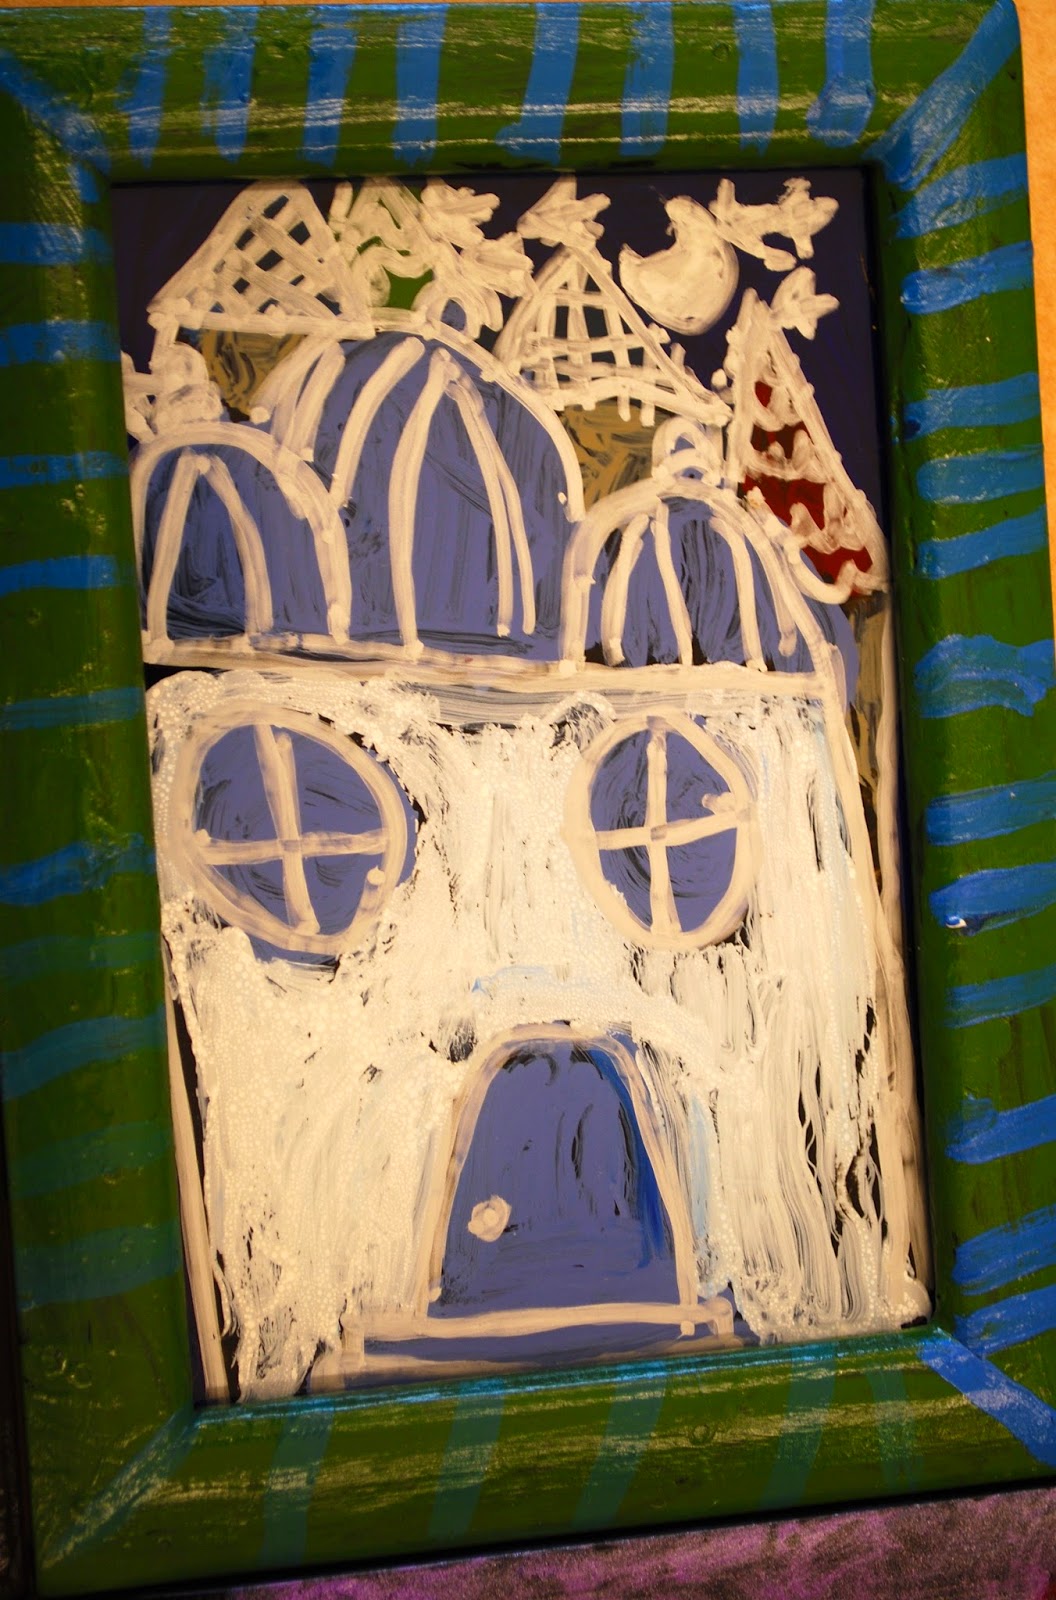
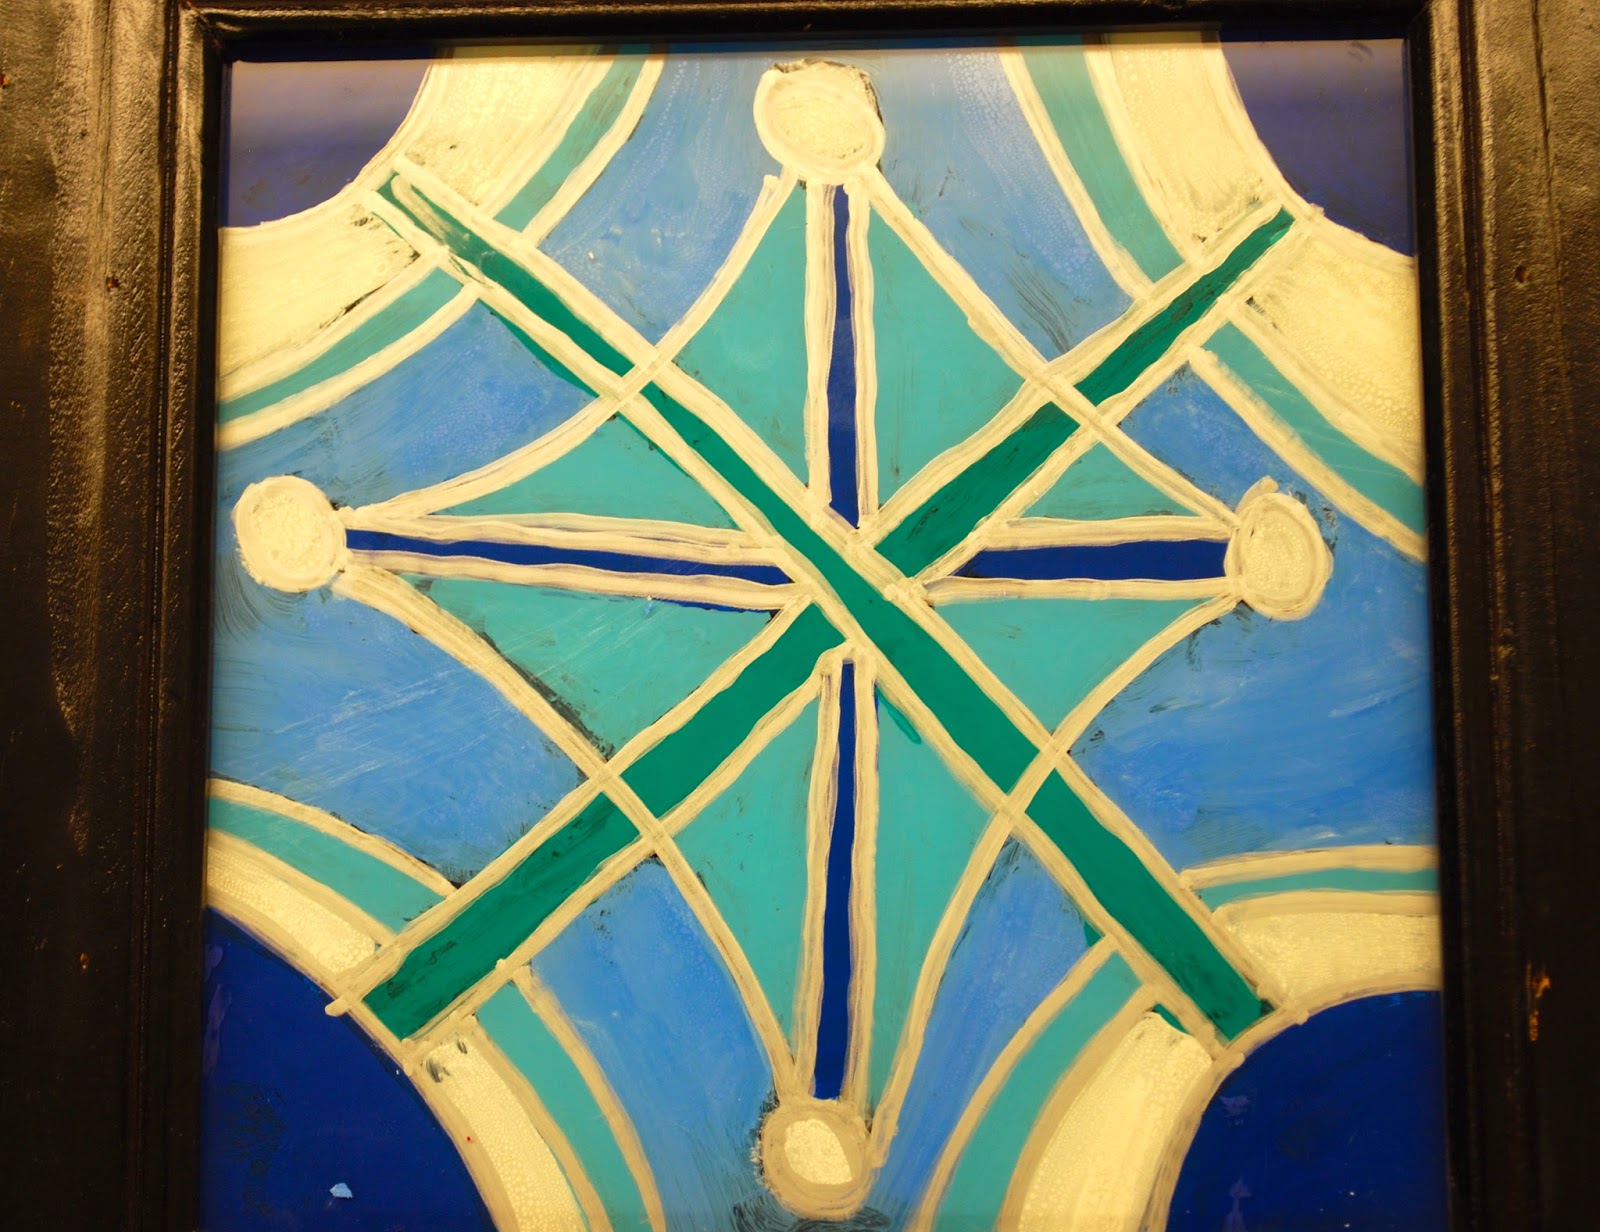
We used a permanent silver Sharpie and acrylic paints directly on the back side of the glass for our framed artwork. I teach at three schools and used different frame sources at each school. For one, I purchased a variety of small frames at a thrift store. (Value Village). Another school used square frames I purchased a while back (years!) in the dollar section at Target. And the matt-painted ones were purchased at Ikea- some white and some black.

Did you know that Kandinsky did over 30 paintings using the reverse painting on glass technique, and that he painted the frames too? He used this folk art technique to explore color and luminosity. I shared photos of his beautiful paintings and then we got to work.

I gave each artist a piece of paper and the glass that I had removed from the frames.
(NOTE: If you label the glass, backing, and frame to keep them together for each artist, it will save you a lot of time trying to get them all back together. The cheaper the frame, the more trouble you may have getting them to fit back together easily. Maybe a zip lock bag with each person's name and all the parts??) I didn't do this…and so spent way too long trying to get glass and backing boards to fit together!)
Each artist carefully traced their glass on the paper, and then drew their artwork inside that outline. I reminded students to not use letters or numbers as they would be reversed once the artwork was completed.


Leaving their drawing under the glass, artists traced their design onto the glass with the silver Sharpie. (We used the regular metallic Sharpie, not the oil based kind.)
Next, they painted with regular acrylic craft paint. (No need for special glass paint, as the paint winds up on the back of the glass, protected from any scratching or wear.) Be careful not to scrub the paint on, as it can lift the silver ink.
Details had to be drawn with the silver ink first or painted FIRST. More than a couple kids added tiny details as you would normally on top of bigger areas of color, only to realize they wouldn't show from the other side.
Once dry, we I covered the painting with black paint. Yes, this step had a few of the kids concerned! I assured them all would look great from the other side of the glass.
I love how the black showing through emphasized the brush strokes in the paintings below.

One school used the extra paint on their pallets to add patterns to their frames, which I then coated with a high gloss acrylic medium.


I loved that my students who visited the museum had a greater appreciation for Cappy's beautiful work and that they could share a bit of the process with their families.
Make it a Wonderful Day!


