Creating a Wonderful Life means teaching art, quilting, cooking, treasuring time with family and friends, and finding ways to make a difference. Thank you to the creative online community for sharing your ideas with all of us. And thanks for stopping by!
Friday, January 17, 2014
Brown Sugar Almond Bites
These are a long-time favorite, usually reserved for making at Christmas. A shortbread layer topped with a delicious layer of gooey sugared nuts. A bit like pecan pie in cookie form. Only a little lighter and brightened with lemon juice. And with almonds instead of pecans. Yum. I made them again this year, eating more than my share for sure.
So I'm thinking I'll make these for Valentine's Day so Dave can have some too.
Brown Sugar Almond Bites
1/2 Butter, softened
1/2 Cup sifted Powdered Sugar
1 Cup flour
3 Tablespoons Butter
1/2 Cup packed Brown Sugar
3/4 teaspoon fresh Lemon Juice
3/4 C sliced Almonds
1 teaspoon Vanilla
Cream together 1/2 Cup butter with electric mixer. Add flour; mix well. Pat into 9x9x2 inch pan. Bake at 350 degrees for 12-15 minutes.
Meanwhile, melt remaining butter in saucepan. Add brown sugar, 1 Tablespoon water, and lemon juice; bring to a boil, stirring constantly. Remove from heat, stir in almonds and vanilla. Pour over crust, carefully spreading to edges. Place back in 350 degree oven and bake for 15-20 minutes. Cut into bite-sized bars while still warm.
(I make a double batch, using one 9x9 and one 8x8 pan.)
Make it a Wonderful Day!
Tuesday, December 17, 2013
Scrape. Stamp. Stick.
So I've been busy. Really busy.
(And we got a Mac and I'm trying to figure out how to import pictures from iPhoto. I'm not sure where these pictures were on my computer or how I managed to get them posted. I need a Mac tutor to come over and walk me through this!)
About half way through the project, I had my doubts, but I wound up very happy with the processes, and with the results too.
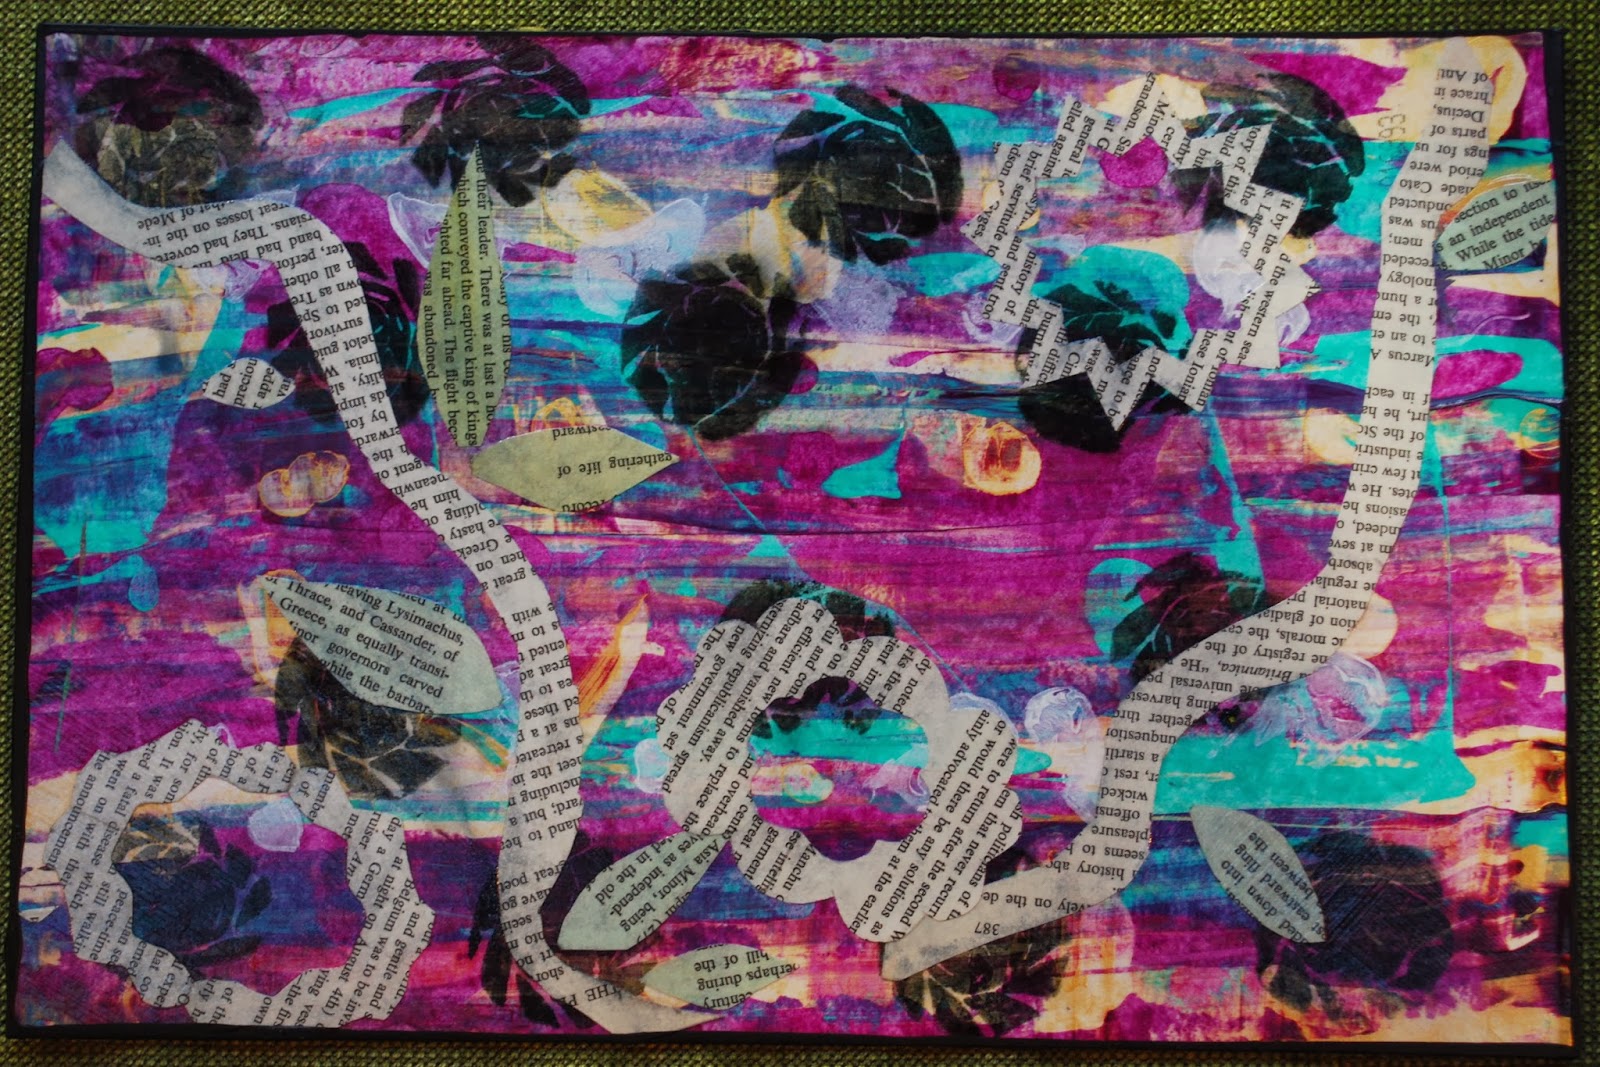
These are on mat board, about 8 inches x 12 inches.
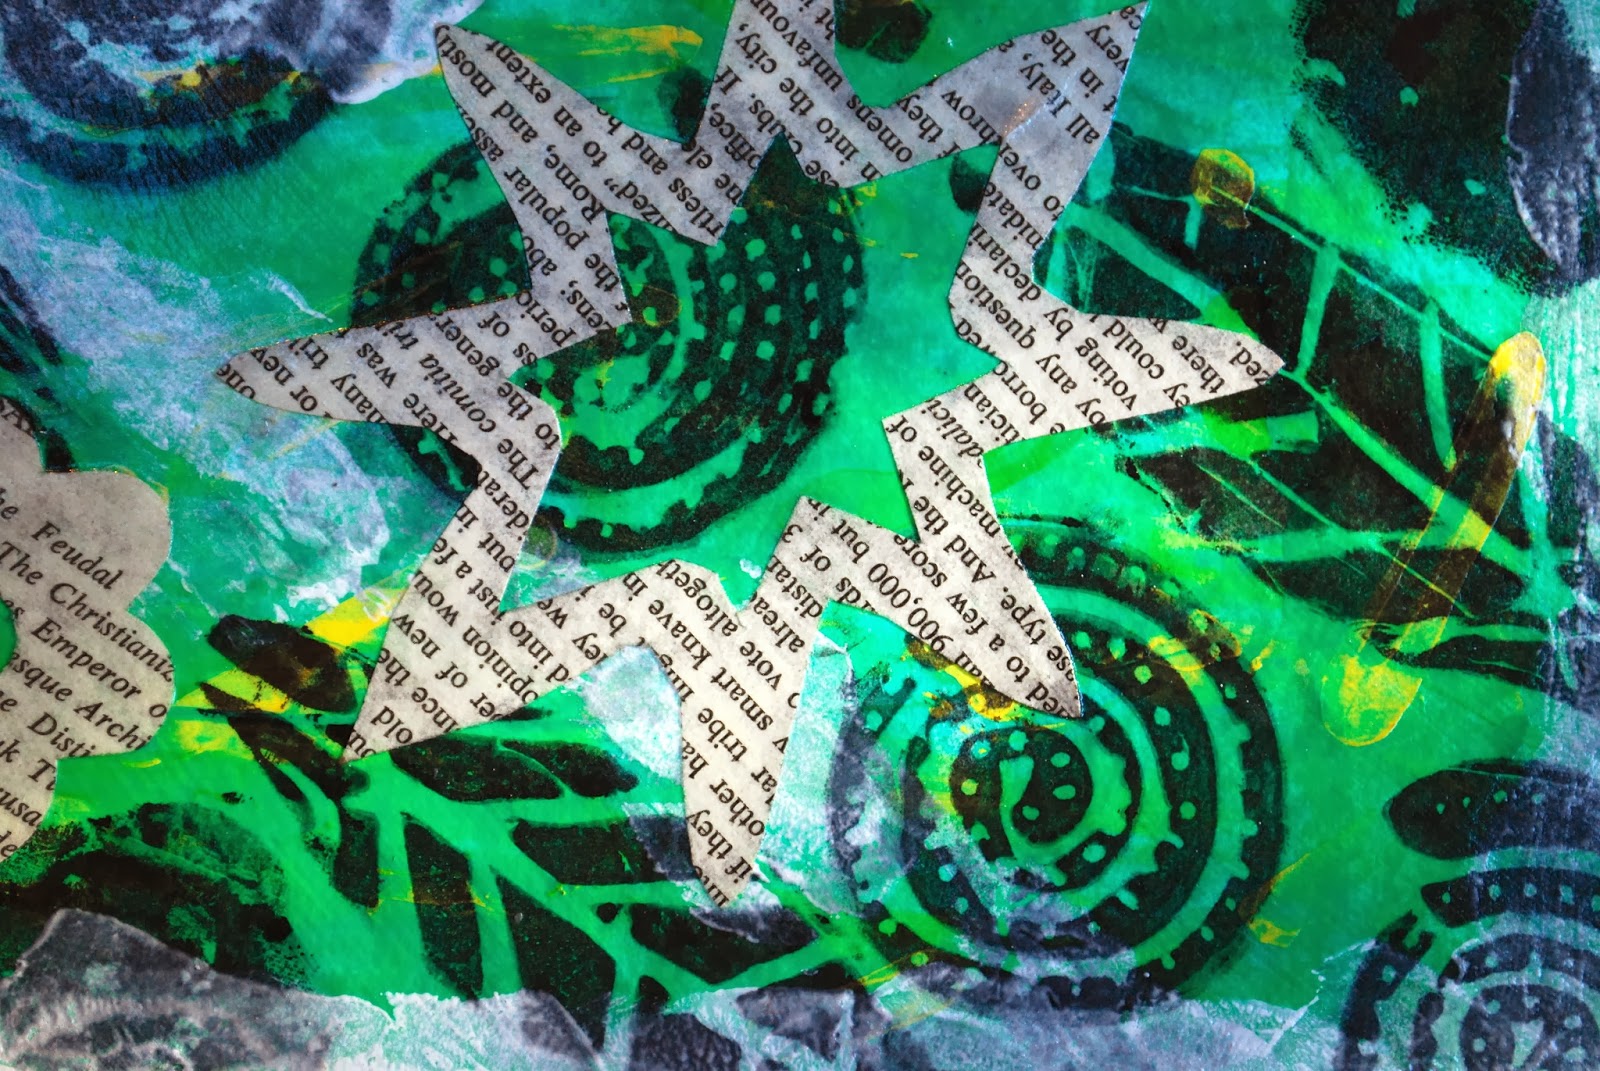
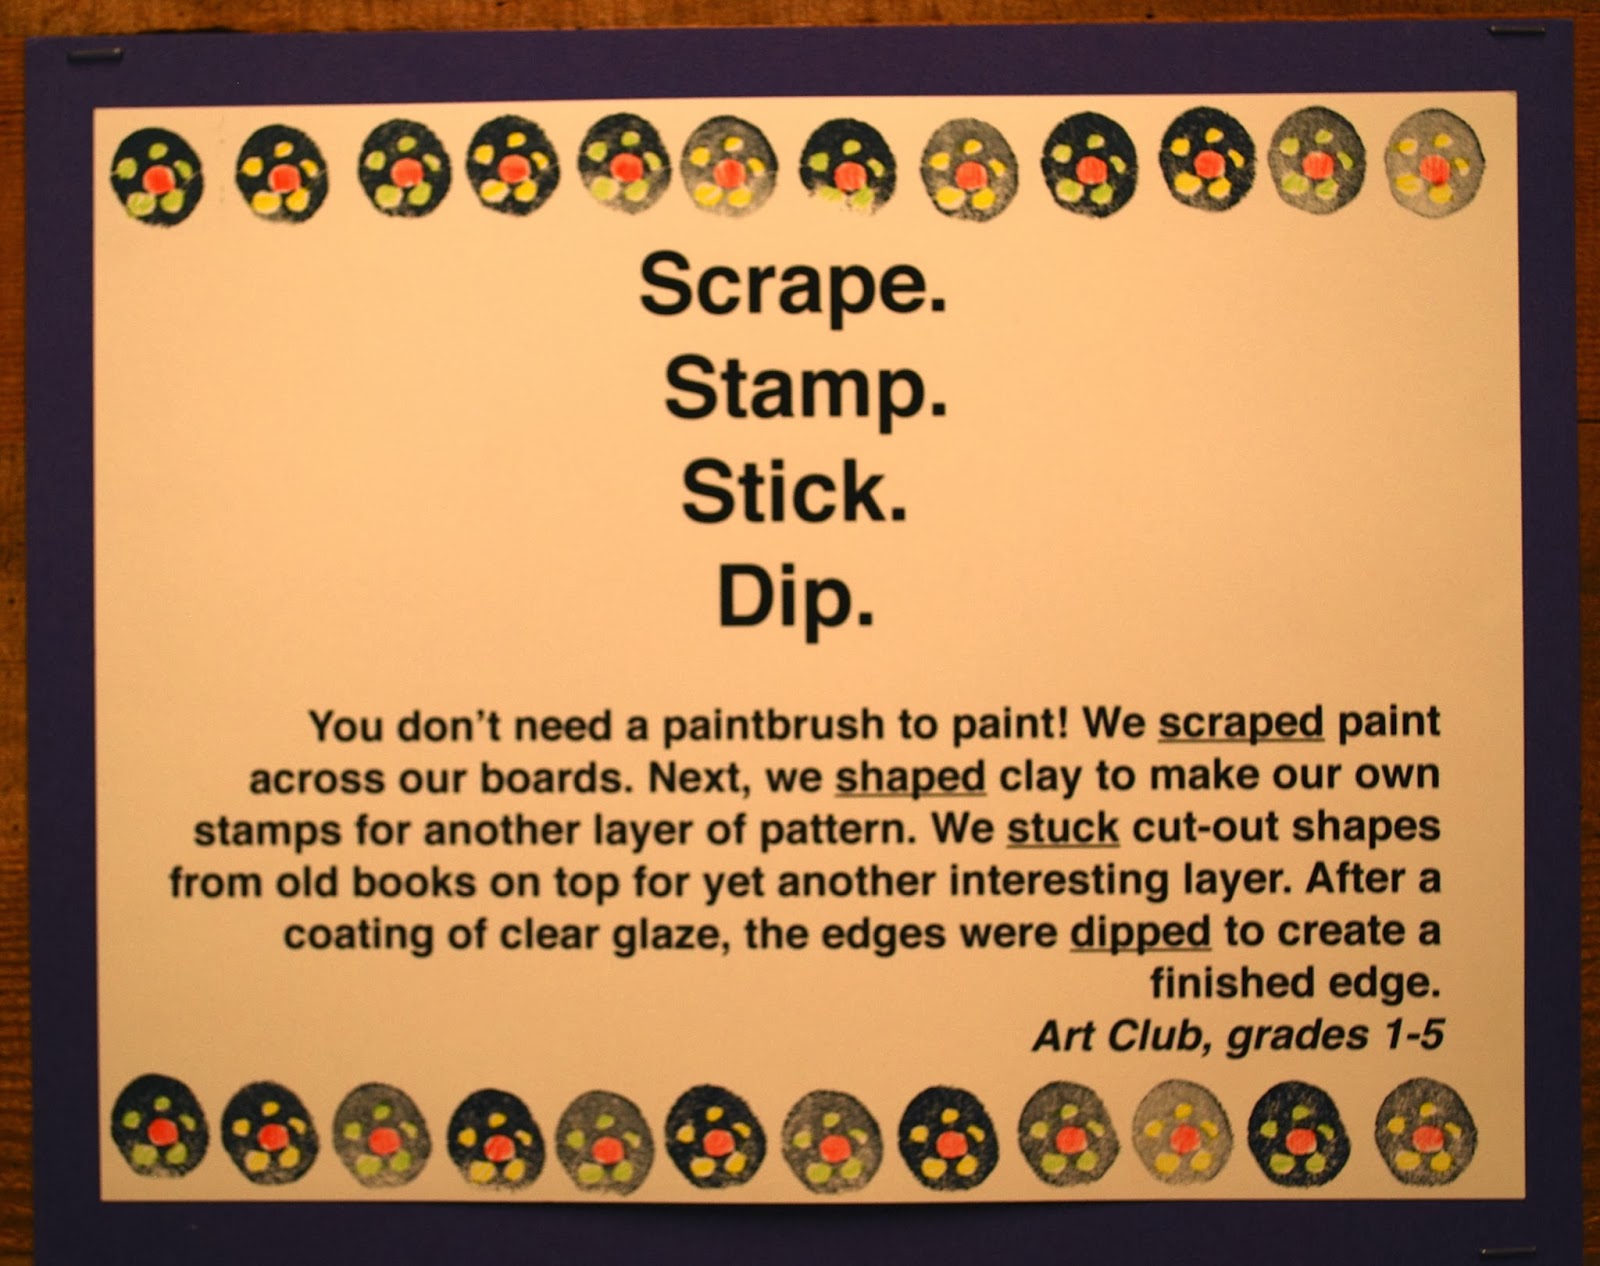
For the background, we scraped acrylic paint blobs across the boards with credit cards.
The following week, we made stamps from plasticine clay, stamping with both black and white ink….
… and I learned something about inks stamped on top of acrylics. The black ink was dye ink. Which worked just fine.
But the white was pigment ink. Just FYI, pigment ink says it's slow drying. I thought, "No problem. They have a whole week to dry before we do our collage work."
Which wasn't long enough.
BUMMER!!! I ironed every piece to try and heat set it. Nope.
I then sprayed them with a matte fixative, which helped a little, but the white ink still smudged.
Oh well. We kept going.
The last layer was cut-out shapes from book pages and old maps. (Some of the pages had an acrylic paint wash. (Note to self: I really liked the addition of color with the wash. It added variety and contrast in the collage work.) I suggested open shapes to allow their beautiful layered backgrounds to shine.
Can you see the thin black edge? Once the pieces were collaged, I finished them with a coat of gloss sealer. But they still seemed unfinished. So I put some black acrylic paint on a cookie sheet and dipped the edges. It really made such a difference, and it didn't take TOO long. :D
Once these were finished and on display, the compliments started rolling in. I love telling the kids how much people enjoy seeing their beautiful artwork!
(I'd never made stamps from plasticine clay before- so much fun! I learned about them here: http://www.filthwizardry.com/2010/09/plasticine-stamp-printing.html I remember using stiff cards to scrape paint back in high school. And cut and paste was my favorite art project in early elementary school. We used construction paper and paste back then… )
Thursday, October 31, 2013
Ginger Pumpkin Bread
Here's another recipe for Pumpkin Bread. This one has chocolate chips and candied ginger.
You can see in the photo that it's a teeny bit undercooked. But I don't mind that-I like it better a little under than over.
I served some (without the ginger) for my quilt group meeting at my house this month. I forgot to take a photo of the table or the food. So maybe one day I'll pretend like I'm a food stylist and do a fake photo shoot…um, probably not, but I'll just tell you that it looked festive.)
I did package up some of the Pumpkin Bread, along with my two favorite Halloween candies, Reese's Peanut Butter Cups and Candy Corn, to share with some friends I visit every month. Black plates and checkered ribbon- also a favorite combination of mine.
Makes 2 loaves (Inspired by letsdishrecipes.com )
2 C Unbleached White Flour
1 1/2 C Whole Wheat Flour
2 1/2 C White Sugar
3/4 C Brown Sugar
2 tsp. Cinnamon
1 tsp. Nutmeg, freshly grated
1/2 tsp. Fresh Ginger, grated
1 tsp. Salt
2 tsp.Baking Soda
2 C Pumpkin, canned or cooked
1/4 C Coconut Oil
3/4 C Applesauce
4 Eggs
2/3 C Water
1 C Semi-sweet Chocolate Chips
1/4 C Candied Ginger (chopped semi-fine)
Preheat oven to 350 degrees. Lightly grease two 9x5 loaf pans.
Combine flours, sugars, baking soda, salt, and spices in large bowl.
Combine wet ingredients in medium bowl.
Stir wet ingredients into dry.
Stir in chocolate chips and candied ginger.
Divide batter between the two prepared loaf pans.
Bake for 55-65 minutes, or until toothpick inserted in loaf comes out clean.
Cool 20 minutes. Turn out to wire rack to cool completely before wrapping in foil.
We'll enjoy a slice or two while watching Arsenic and Old Lace (the old black& white movie with Cary Grant) while we wait for a few Trick or Treaters.
Make it a Happy Halloween!
Sunday, October 27, 2013
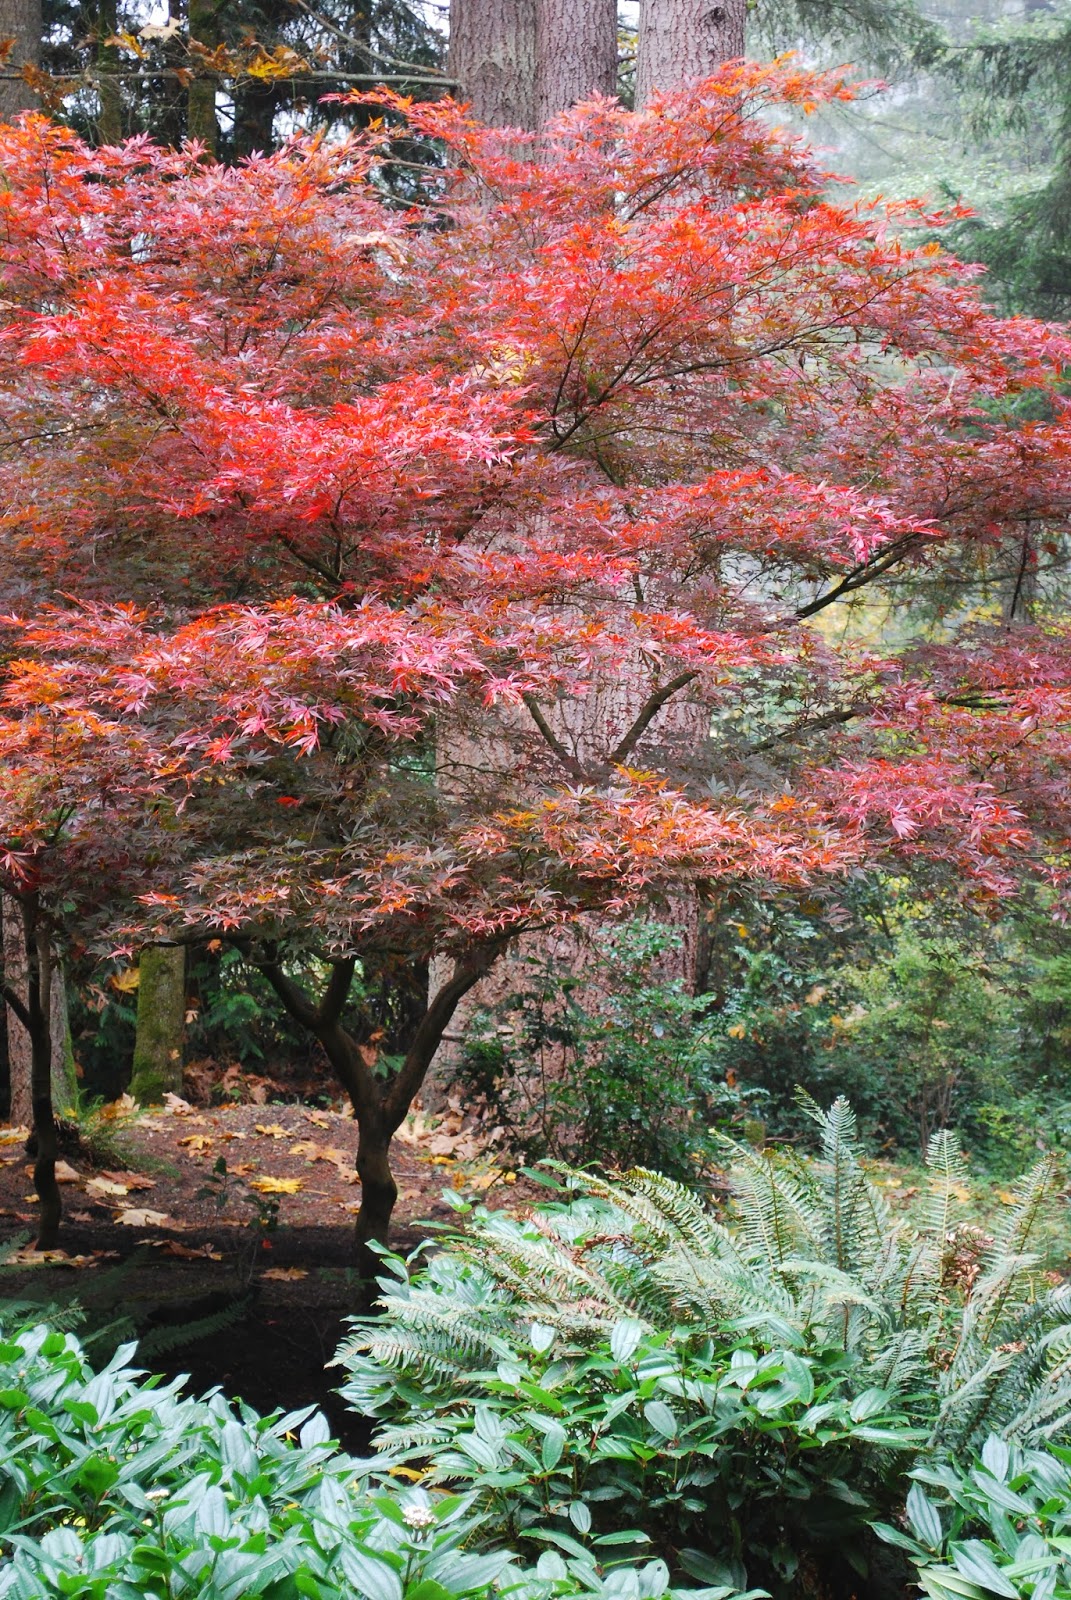
Cool Days/Warm Colors
Have a Wonderful Day!
P.S. The color was NOT enhanced in these photos. The full-tree photos were taken a week earlier than the others and the colors have gotten more intense. The Japanese Maple is blazing red and orange today!
Wednesday, October 23, 2013
Update on The Weaving Project
We continue to get lots of positive feedback on our installation at the Bellevue Arts Museum.
This is our wall of 500, made by students at Alcott, Dickinson, Rosa Parks, Explorer, and Redmond High School, along with friends and family too.
This smaller piece of 64 weavings are the some of the ones I made...
And these are some of the HUNDREDS made by visitors to the museum. Visitors are invited to make one and add it to the installation, but most artists wanted to take their treasures home with them. This wall now has over 300, so it's getting to be almost as large as our installation of 500 on the adjacent wall.
The Weaving Project is on display until
It's been gratifying to hear from people around the world who are making CD weavings! It enlarges the idea of community that I hoped the project would express. Thank you to those of you who have taken time to let me know- I've heard from or seen the work of students, teachers, and individuals in Israel, Colombia, Australia, and many states in the United States. Wouldn't it be awesome to see them all together?
We are looking for another display opportunity once the show closes at BAM, so let me know if you have any ideas.
Make it a Wonderful Day!
Subscribe to:
Posts (Atom)