Thursday, March 20, 2014

60 for 60


I've been knitting. Quite a bit. But not on needles. Nope, knitting needles and I don't get along. I start out okay, but then I just get tighter and tighter and pretty soon, I can't get the stitches off or the needle in. But loom knitting works for me.


I bought this Nifty Knitter ring at a thrift store (Value Village), along with the three larger sizes that come in the set. I paid less than $5 for the set, but if you buy a new set, expect to pay $15-$20. This is the only size I've used so far, but that's because I have a goal in mind. I am making 60 scarves to donate by my 60th birthday. I've made 41 so far, so only 19 to go before July 24th.


Loom knitting's been around for a long time- as far back as the 16th Century. It may have begun as finger knitting. (I always wonder how people figure out things like this!)

I remember making a "corking" spool when I was in grade school. It was a red wooden spool with four nails pounded in the top. The knitted cord was created in the center hole of the spool, making a long rope that could then be sewn together in a spiral to make a trivet or other such item. I liked the calm process even then.


Each scarf if double thick with the tube sewn closed on each end. They vary a bit in length, but they all are about 64 inches long and about 5 inches wide.  I use Lion Brand Homespun yarn, available at craft stores. (It's the 6 oz. size, 185 yards.) It's a very soft yarn, easy to work with, and comes in a variety of colors, as you can see. I fold up the finished scarves, tying them with a bit of the same yarn to keep them neat and organized.


My grand girls all have made scarves and hats knitting with these rings- the youngest is 6, so that gives you an idea of my knitting skills. :D

Maybe I'll see if they'd like to make scarves to donate too, in honor of their birthdays. They wouldn't have to make as many as I am, that's for sure!! But it's fun to have a goal to work toward that helps others at the same time. These scarves will be given to homeless men and women- a touch of love along with the warmth they'll provide.


Make it a wonderful day!  (And Happy Birthday to our son Ryan, serving in Afghanistan. We love you and miss you and can't wait for you to come home to us.)

Thursday, March 13, 2014

Quick Moss Wreath


We've had a plain twig wreath on our front porch for a while, so I thought I'd give it an update for St. Patrick's Day and Spring. I may add some flowers to it for Easter too.


 The moss was used in a beautiful "woodland themed" wedding reception designed by my daughter-in law Dea, and I've been saving it for a couple of years. She was going to throw it away, but she asked me if I wanted it…of course I said yes! The rusty wire is from I don't know where. (I love that when anyone is getting rid of some artsy/crafty supplies, they ask me if I want them. Usually, I say yes. So thank you to whoever gave me the wire.) You can purchase wire and moss at craft or floral shops if you don't have leftovers like I did.


I set clumps of the moss on the front of the wreath, wrapping the wire around. Cover small areas at a time and secure with wire as you go. (I didn't cut the wire, just left in on the paddle. It made it very easy to manage.) The wire  disappeared into the moss.


Some of the moss is brighter green than the rest, so if you make a moss wreath, mix up the clumps so you have an even distribution of color.  I'll remember to do that…next time.

Add caption

So this last photo is of our front lawn, if you can call it that.  We live in the Pacific Northwest, with lots of evergreen trees. Over the years, we've taken out the lawn in our backyard and in the most of the front yard. But I wanted some open area to play on with the grands. We're not into using chemicals to fight the moss, so this is the result. Any ideas? I think the best option is to love the moss… and the dandelions that will join the moss in a few weeks.


Have a Wonderful Day!

Thursday, February 27, 2014

Bird Tag


I like to cut and paste. I think it reminds me of the fun I had as a child using scissors and construction paper and white paste. I don't think kids do that much any more. I see that many of my students have poor cutting skills. (But they are much more skilled on the computer than I am, that's for sure!)


This wedding shower gift is a cute colander filled with a variety of kitchen items- a small microplane, some cloth napkins, a jarred candle, etc. (It's so easy to spend a lot more on little items than I mean to! But it's so fun to put gift baskets together, so I keep doing it…)


The bird tag was very loosely inspired by the colors and fabrics of the napkins. I free-hand cut out all the shapes in the interest of time, but I also think it helps keep the design more spontaneous. The size of the bird determined the size of the card, so that's what I mean by spontaneous. I avoid measuring whenever possible…I have a crate of file folders with scrap card stock sorted by color, just for making tags and cards like this one. 

(My organized hoard of supplies come in handy!)


Have a wonderful day!

Tuesday, February 25, 2014

A Quilt for Theo


This is a quilt for Theo.


His mom is a close childhood friend of our daughter. Theo isn't here yet, but we look forward to meeting him when he arrives.

(Terry did the long arm quilting)
The quilt is made from some 9 patches I made a while back, matted in a dot fabric. A simple quilt with a modern feel.


Have a wonderful day!

PS. This is my 500th post, a milestone of sorts! I thought it right to have it be about a quilt, since I started this blog with a quilt tutorial. :D 


Monday, February 24, 2014

Russian Thrifting and Other Finds


We really enjoyed watching the Olympics. Did you find yourself leaning with the downhill skiers and swaying with the speed skaters? Or holding your breath when the ice skaters did their jumps? (For me, watching the mogul skiers just made my knees scream with empathy.)

A few months ago, I came across these Matryoska while browsing at a thrift store. (Value Village) Someone must have been getting rid of their whole collection. (During the Olympics, they had a short segment on how these are carved on a lathe and then hand painted. Very fun to watch.)


I passed on a few that were in poor condition, but brought these home with me. They aren't all complete, but I don't think my grands will mind that. Now if I can just get them to come visit…It's not easy having them live so far away. :(

Oh, and here's another little piece I've had for years, also thrifted. (Value Village) 


It's a hinged box that holds doll house furnishings currently. But in the past I've used in to hold embroidery thread and other sewing notions.


This large dollhouse was a fabulous thrifted find! (Also from Value Village) 


Made by Ryan's Room, it was marked $15- and I got a discount on top of that, so I could not pass it up. I might let the grands paint it the next time they visit, just for fun. Yes, I like it the way it is, but wouldn't they have fun painting it however they wanted?? (I just found the same selling online for $159! Wow, I really did get a GREAT deal on this! Maybe I won't have the grands paint it after all…) 

The cool wooden dolls were not thrifted. I paid full price for them over at Land of Nod. I know. Not cheap. But I love them and rationalized that the grands would love them too. (I saw a couple of negative reviews for these having to do with quality, but our set is just great- no problems at all.)


 Have a wonderful day!


Tuesday, February 18, 2014

A Very Special Quilt

No, I didn't make this. But some very wonderful women made it for me and for my son, Ryan.


Ryan serves as a 1st Lieutenant, US Army, now deployed in Afghanistan. I'm not a military person to say the least. I can't understand how we humans have been on the planet this long and haven't figured out how to get along. But there you have it. Ryan chose this path to serve his country, and I love his desire to do good in the world. He explained to me that he isn't in the fight because he's angry at the world, mad at the bad guys, etc. He loves peace, and wants others to have a chance at that. Who am I to argue with peace?

Anyway, it's not easy having a loved one in harm's way, regardless of their motives. So my quilt group could see I was sad about this (did the tears give me away?), so they took it upon themselves to make me a quilt.

We've made many a quilt for American Hero Quilts. These are given to the returning wounded soldiers. It's a small way to remember that war is suffering that doesn't go away. I think it's important for the costs of war to be on our hearts and minds, and stitching a quilt is one way to let someone who is suffering know they are not forgotten.


Ryan has not been injured, and I hope and pray that he and the soldiers with him remain safe. But my quilting friends wanted to honor Ryan's service, and they knew a quilt was a good way to express their love and support to our family. And when Ryan comes home, the quilt can be his. For now, it's mine.


Friday, February 14, 2014

Happy Heart Fruit & Nut Balls

These are a heart-healthy sweet for your sweetheart. Or make some just for you!


Yummy dried fruits, nuts, and a bit of zip from some candied ginger. 


These are quick to make in your food processor. No baking required.


Fruit and Nut Balls
(inspired by these)

1/2 Cup each: dried cherries, blueberries, raisins, dates, cranberries (Unsweetened)
1/2 Cup each: toasted walnuts and pecans, coarsely chopped (toasting the nuts adds so much flavor!)
1 Tablespoon candied ginger, coarsely chopped
1/4 Cup powdered sugar
1 Tablespoon orange juice
1 Tablespoon honey

Place fruit, nuts, ginger, and powdered sugar in food processor bowl. Pulse until evenly chopped. Add juice and honey. Pulse until mixture begins to clump together. Shape into bite-sized balls and place into 1-inch fluted cups. (I think these are best as small bites- they pack a lot of flavor!)
Store in a cool, dry place.

Happy Heart Day!


Thursday, February 13, 2014

Quick Heart Cards


Here's a very quick card, just in time for Valentine's Day. You can make two at a time- one for your Valentine, and one for your other Valentine.  It plays with the idea of positive and negative space. 
But only positive thoughts of love, right? 


 You'll need: One piece of pink card stock(8 1/2x11-inches) cut in half, one 4x5-inch red card stock, scissors, gluestick, metallic silver ink pen. (I used a Silver Sharpie)

 Fold each of the pink halves in half to make the two cards. Fold the red piece in half the LONG way.


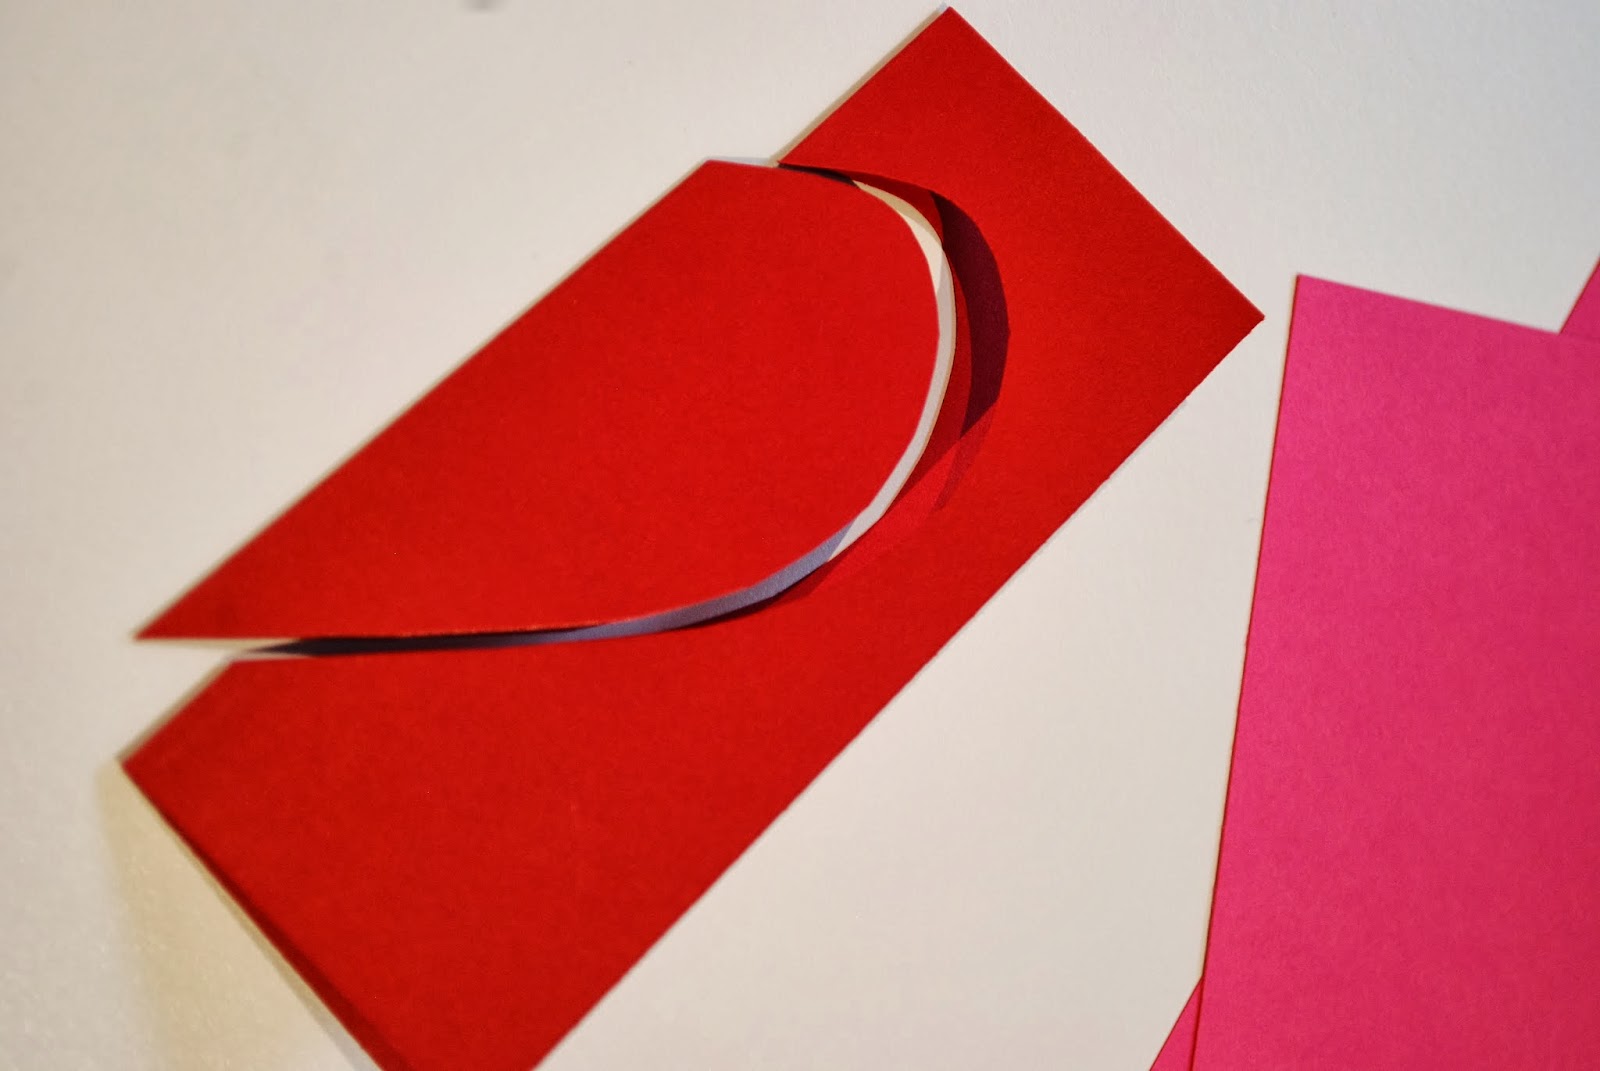
 Cut out half a heart, keeping the fold to the center and cutting through both layers.


Open up your heart, keeping both the heart and the outside piece.


Cut each of those in half.


For each card, glue half of the positive and half of the negative shapes to the pink cards. Add dots with the silver pen.


You can add a row of dots to the inside edge of the card if you'd like.


 Happy Valentine's Day!

Friday, January 17, 2014

Brown Sugar Almond Bites


These are a long-time favorite, usually reserved for making at Christmas.  A shortbread layer topped with a delicious layer of gooey sugared nuts. A bit like pecan pie in cookie form. Only a little lighter and brightened with lemon juice. And with almonds instead of pecans. Yum. I made them again this year, eating more than my share for sure.

So I'm thinking I'll make these for Valentine's Day so Dave can have some too.

Brown Sugar Almond Bites

1/2 Butter, softened
1/2 Cup sifted Powdered Sugar
1 Cup flour
3 Tablespoons Butter
1/2 Cup packed Brown Sugar
3/4 teaspoon fresh Lemon Juice
3/4 C sliced Almonds
1 teaspoon Vanilla

Cream together 1/2 Cup butter with electric mixer. Add flour; mix well. Pat into 9x9x2 inch pan. Bake at 350 degrees for 12-15 minutes.

Meanwhile, melt remaining butter in saucepan. Add brown sugar, 1 Tablespoon water, and lemon juice; bring to a boil, stirring constantly. Remove from heat, stir in almonds and vanilla. Pour over crust, carefully spreading to edges. Place back in 350 degree oven and bake for 15-20 minutes. Cut into bite-sized bars while still warm.

(I make a double batch, using one 9x9 and one 8x8 pan.)

Make it a Wonderful Day!


Tuesday, December 17, 2013

Scrape. Stamp. Stick.


So I've been busy. Really busy. 

(And we got a Mac and I'm trying to figure out how to import pictures from iPhoto. I'm not sure where these pictures were on my computer or how I managed to get them posted. I need a Mac tutor to come over and walk me through this!)
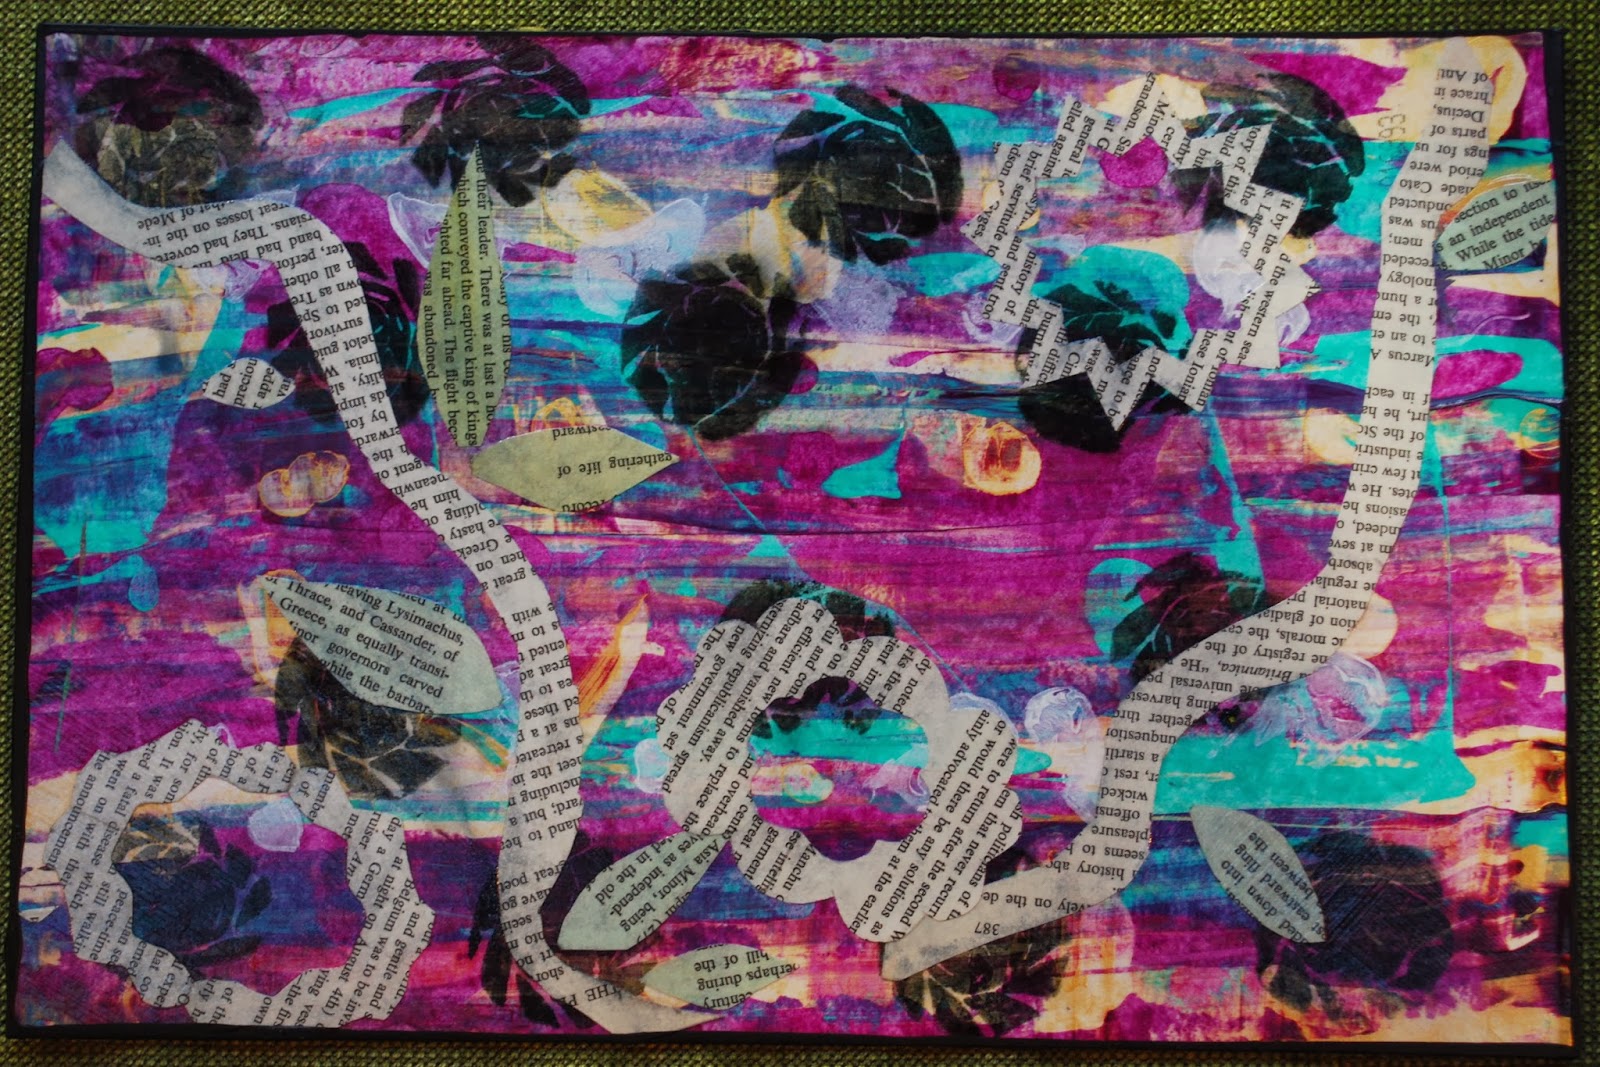
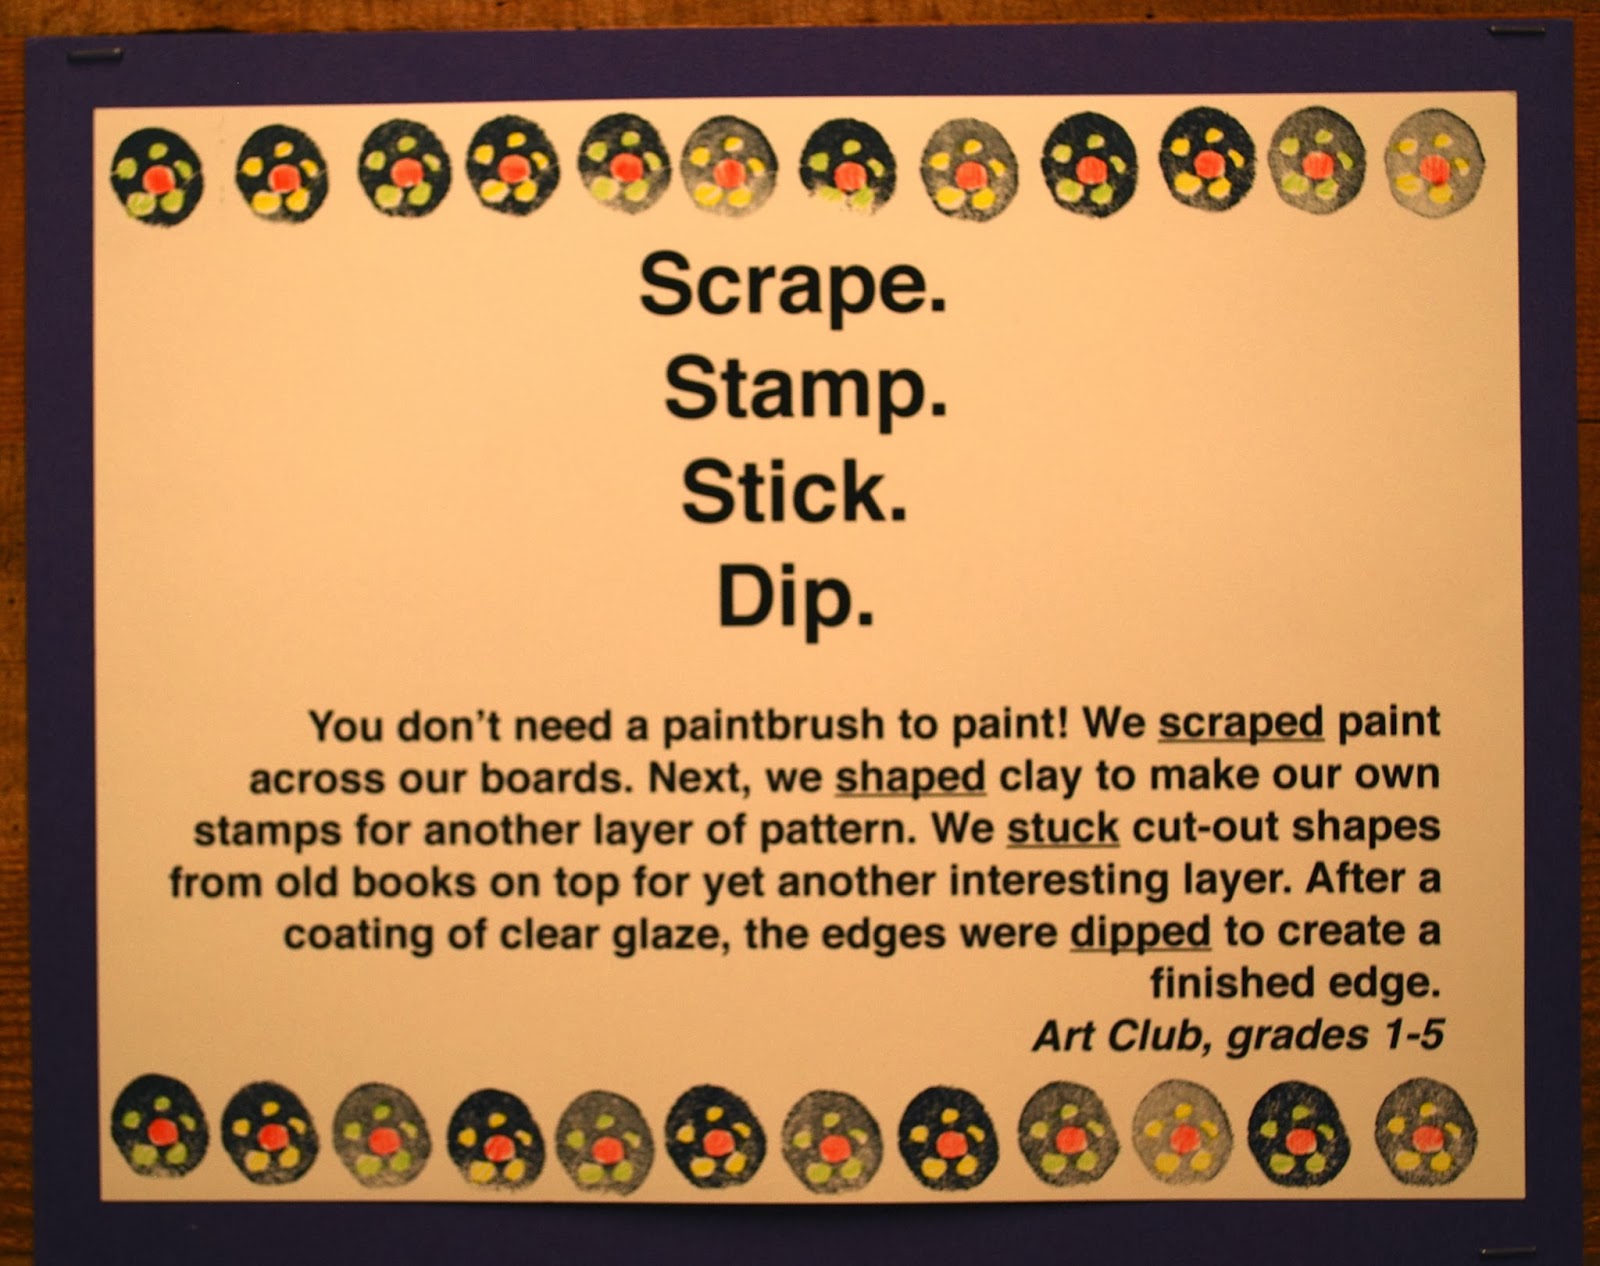
And my Art Club artists have been busy too! We explored alternative ways to apply paint in these layered multi-media collages.


About half way through the project, I had my doubts, but I wound up very happy with the processes, and with the results too.

These are on mat board, about 8 inches x 12 inches.


 For the background, we scraped acrylic paint blobs across the boards with credit cards.


The following week, we made stamps from plasticine clay, stamping with both black and white ink….


… and I learned something about inks stamped on top of acrylics. The black ink was dye ink. Which worked just fine.
But the white was pigment ink. Just FYI, pigment ink says it's slow drying. I thought, "No problem. They have a whole week to dry before we do our collage work."

Which wasn't long enough.

BUMMER!!! I ironed every piece to try and heat set it. Nope.
I then sprayed them with a matte fixative, which helped a little, but the white ink still smudged.


Oh well. We kept going.

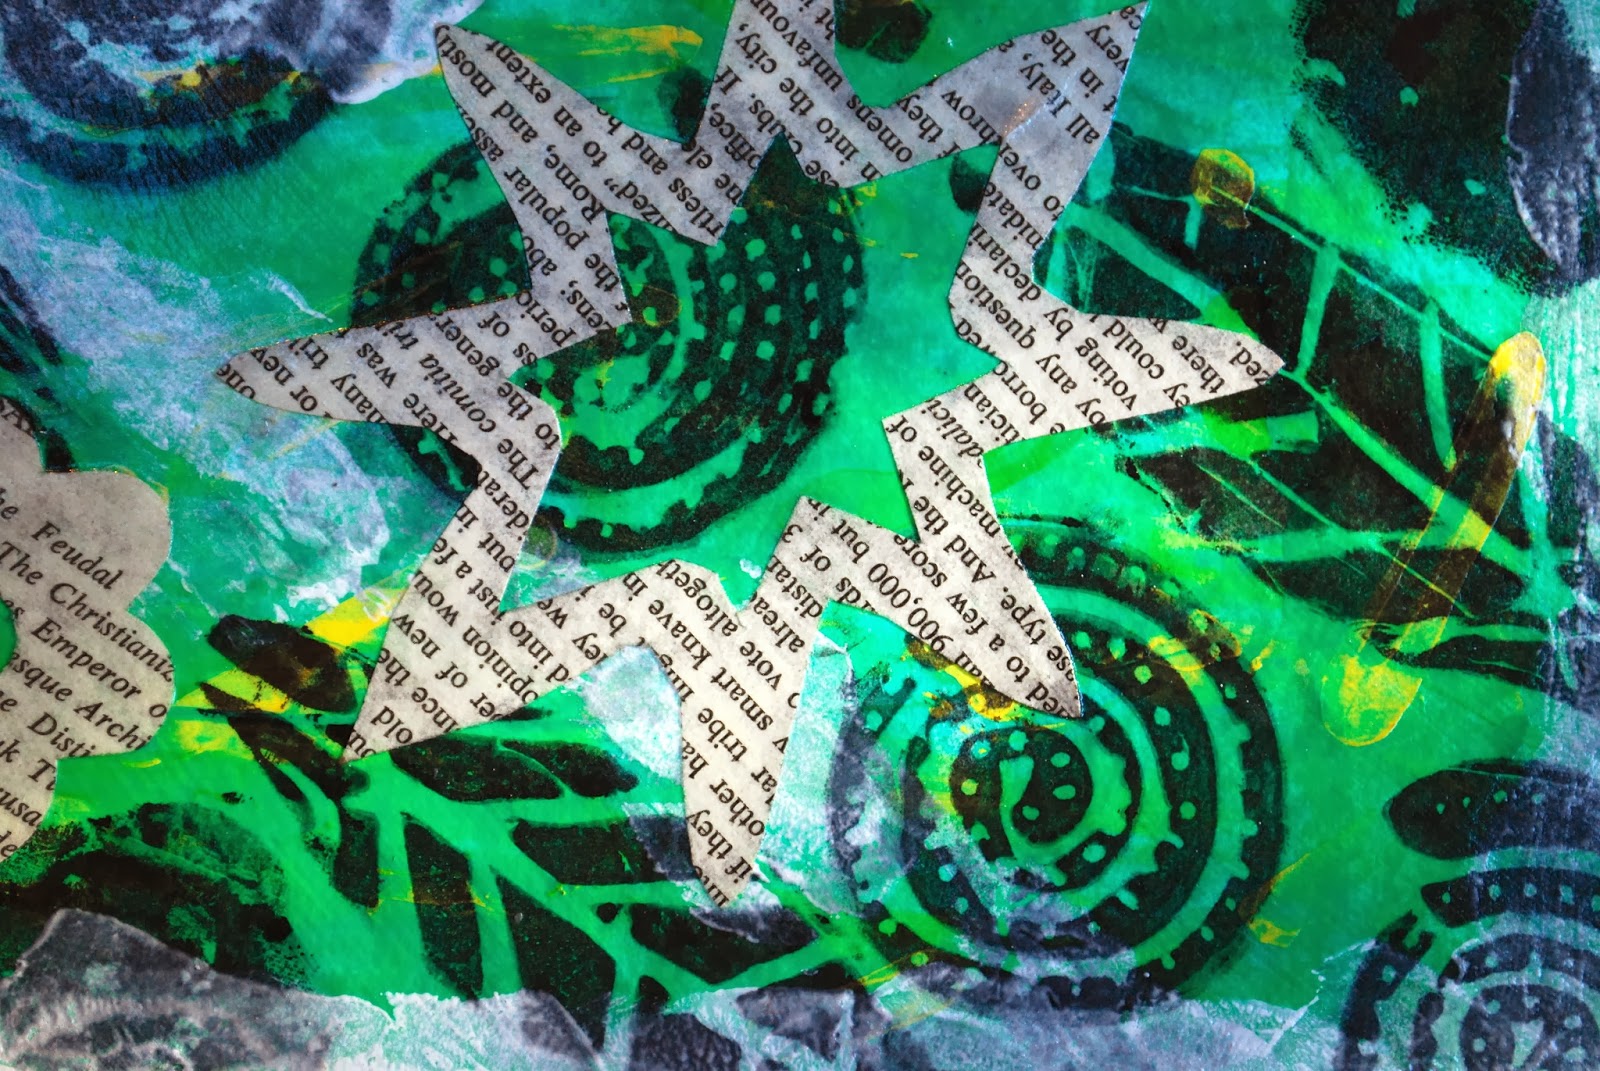
The last layer was cut-out shapes from book pages and old maps. (Some of the pages had an acrylic paint wash. (Note to self: I really liked the addition of color with the wash. It added variety and contrast in the collage work.) I suggested open shapes to allow their beautiful layered backgrounds to shine.


Can you see the thin black edge? Once the pieces were collaged, I finished them with a coat of gloss sealer. But they still seemed unfinished. So I put some black acrylic paint on a cookie sheet and dipped the edges. It really made such a difference, and it didn't take TOO long. :D


 The one below cracks me up. He made a mustache stamp. He didn't want any white stamping, and he was absent when we collaged. But I still think it looks very cool.


Once these were finished and on display, the compliments started rolling in. I love telling the kids how much people enjoy seeing their beautiful artwork!

(I'd never made stamps from plasticine clay before- so much fun! I learned about them here: http://www.filthwizardry.com/2010/09/plasticine-stamp-printing.html I remember using stiff cards to scrape paint back in high school. And cut and paste was my favorite art project in early elementary school. We used construction paper and paste back then… )